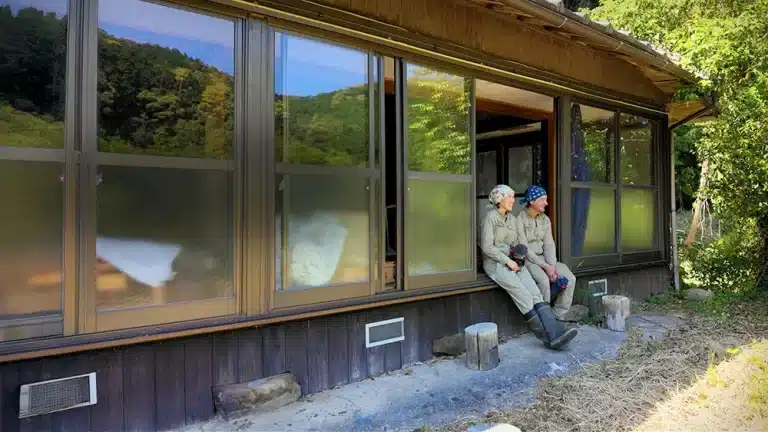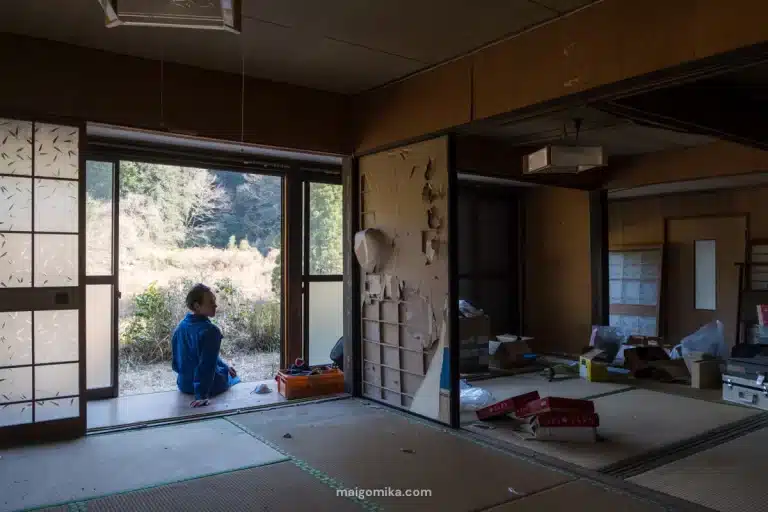
When I started my Japanese countryside channel in April 2023, my gear was simple: my old Fujifilm X-T20, my trusty iPhone, and a “let’s figure it out as we go” understanding of editing software.
Those early videos weren’t about perfect specs — they were about capturing the raw, dusty charm of life inside our once-abandoned akiya.
Since then, I’ve slowly upgraded my setup with gear that helps me capture more of what I love most about rural Japan: the textures, the seasons, the quiet little moments… without turning filming into a heavy, complicated production.
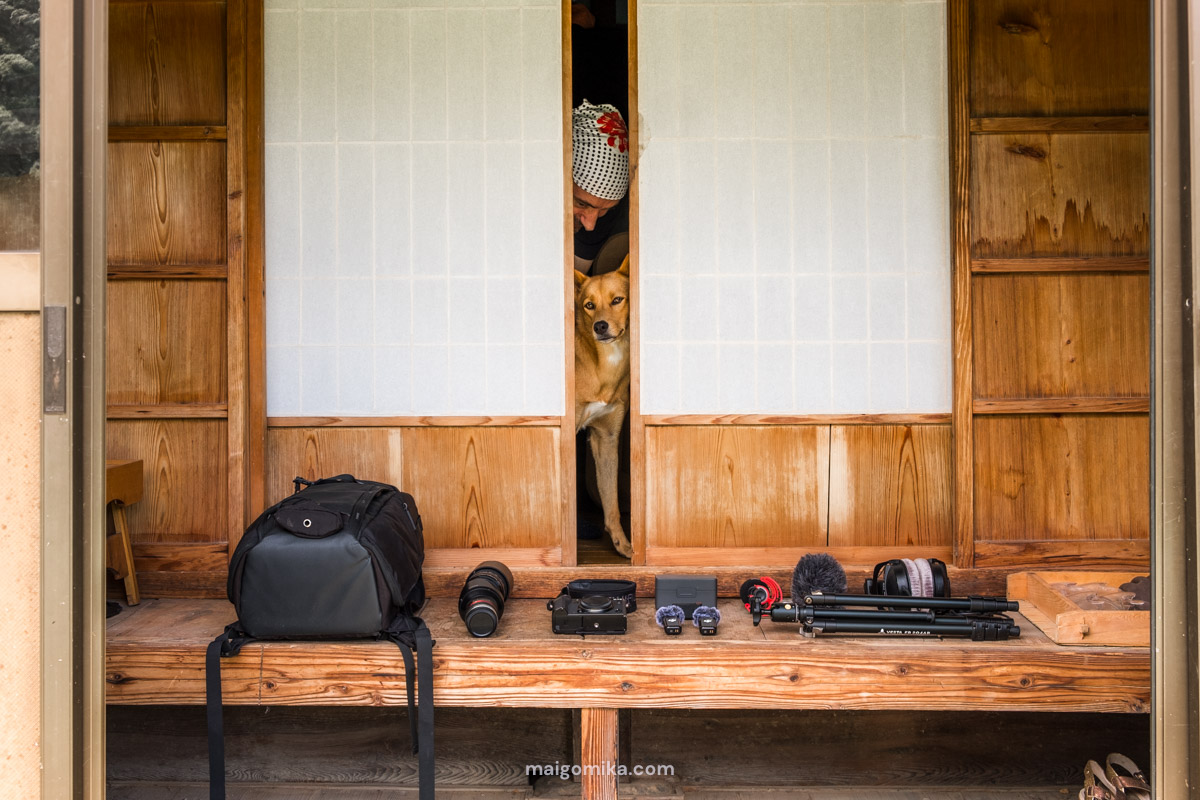
So, here’s what’s in my camera bag — with Pancake kindly modeling the essentials. 🐾
Quick Picks (My Current Setup)
If you just want the short answer, here’s what I use most:
📷 Main camera (cinematic look): Fujifilm X-T5
🤳 Walking/vlogging camera: DJI Osmo Pocket 3
🎤 Best audio upgrade: Rode VideoMic GO II (on-camera)
🎙️ Best interview audio: DJI Mic 2
🎧 Editing headphones: Beyerdynamic DT 770 PRO
🎒 Everyday camera backpack: Vanguard VEO Adaptor S46
👝 Minimal day-trip bag: Tenba Solstice 7L
🎶 Royalty-free music on a budget: Uppbeat
Cameras & Lenses
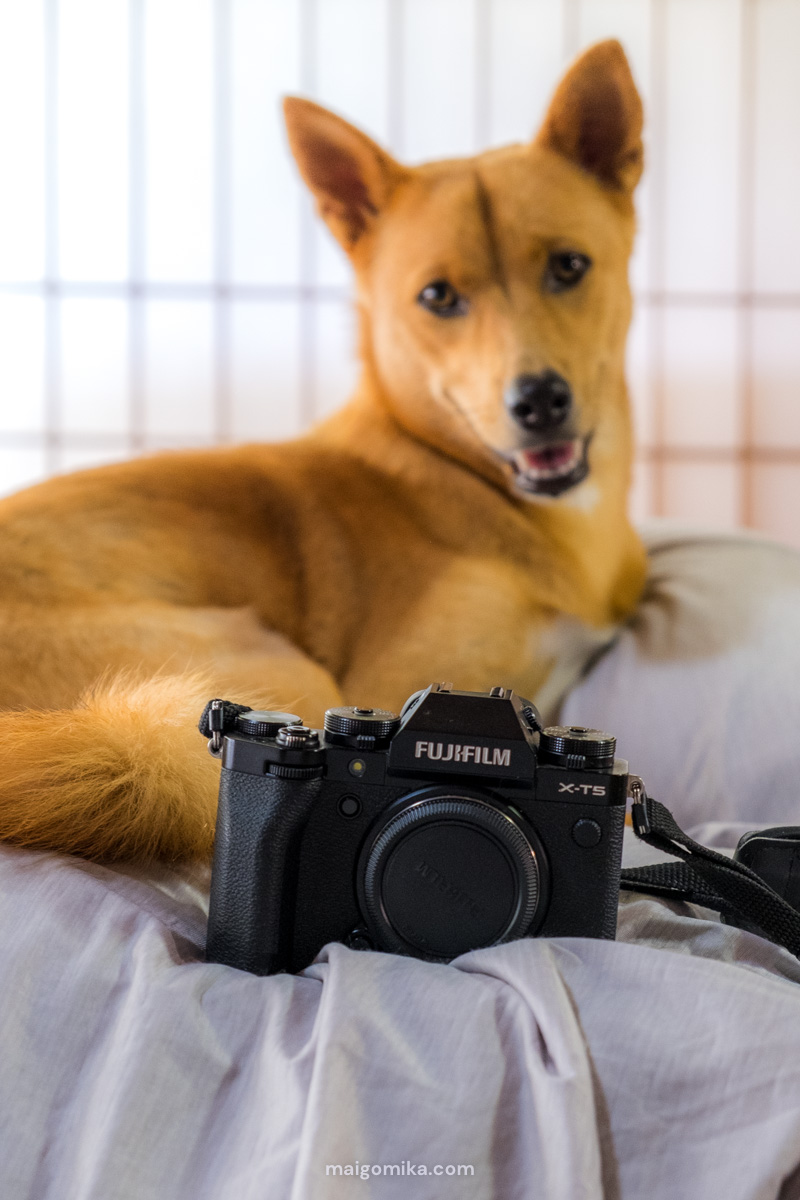
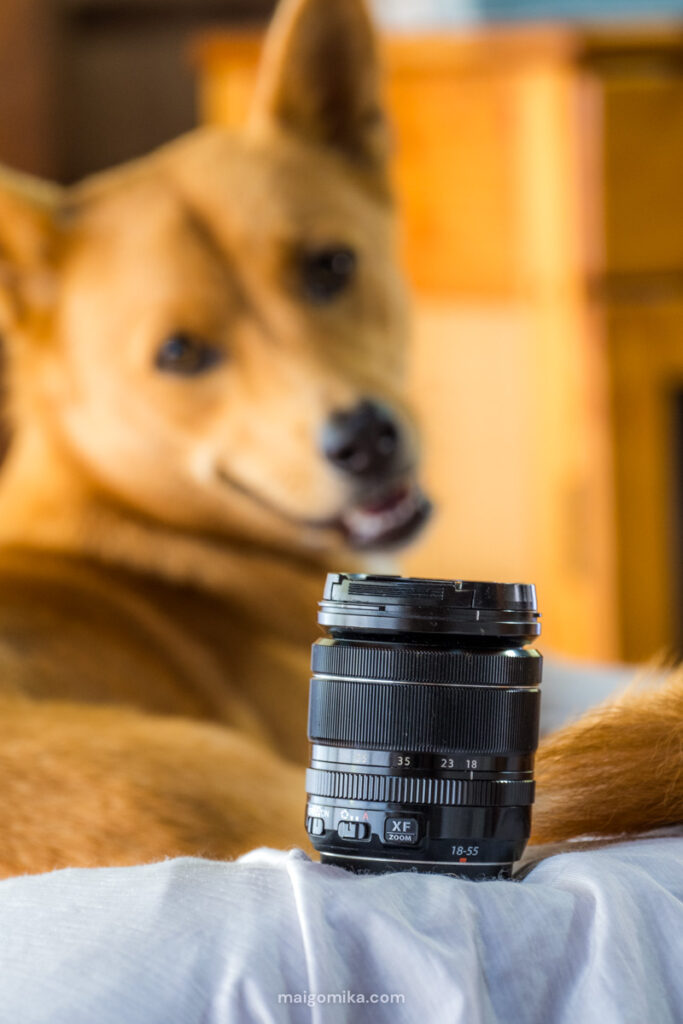
Fujifilm X-T5 (My Main Camera)
I currently film with the Fujifilm X-T5 paired with a FUJINON XF18-55mm F2.8-4 lens.
My first Fujifilm X-T20 was a wonderful starting point, but upgrading to the X-T5 was a huge leap in quality — richer color depth, sharper image quality, and that unmistakable “Fujifilm look” that makes the countryside feel even more alive.
That said, it’s not a perfect vlogger camera: the screen tilts rather than fully flipping out (which makes solo filming harder), and the autofocus can sometimes “wobble” or hunt in video mode, especially between subjects.
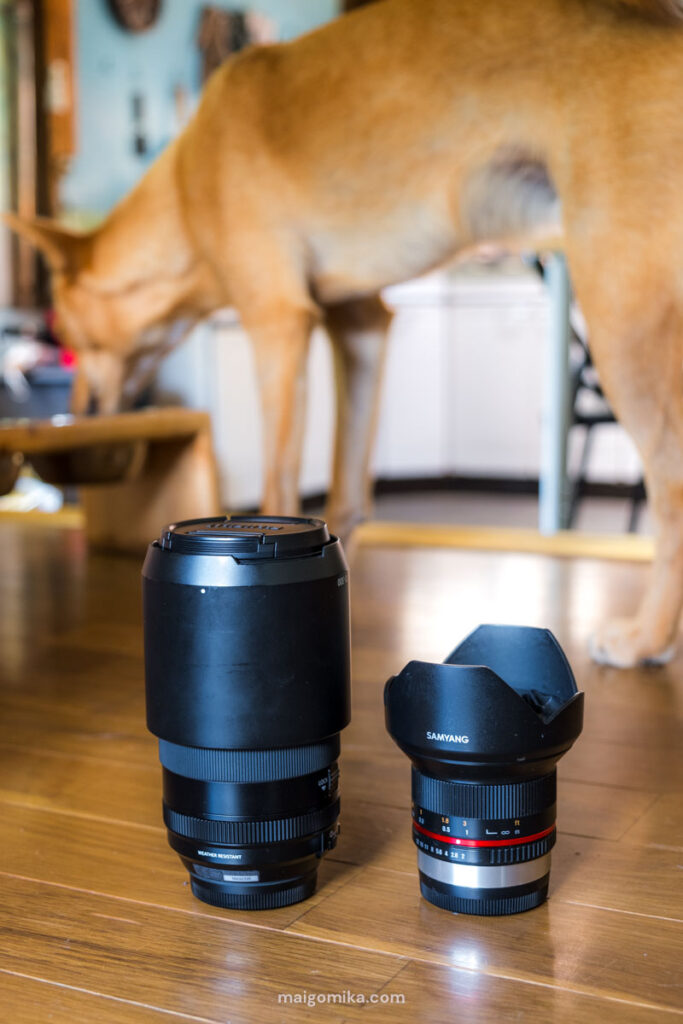
I also rotate lenses depending on what I’m filming:
- Fujifilm XF70-300mm for those distant nature shots
- Rokinon 12mm F2.0, a budget-priced wide-angle lens
✅ Best for:
- Cinematic seasonal countryside footage
- Creators who shoot photo + video
- Slow, intentional filming (daily life, landscapes, rituals)
🚫 Not ideal for:
- Solo vloggers who need a flip screen
- Fast-moving subjects where autofocus must be flawless
- Creators wanting the easiest “set it and forget it” autofocus
DJI Osmo Pocket 3 (My Movement Camera)
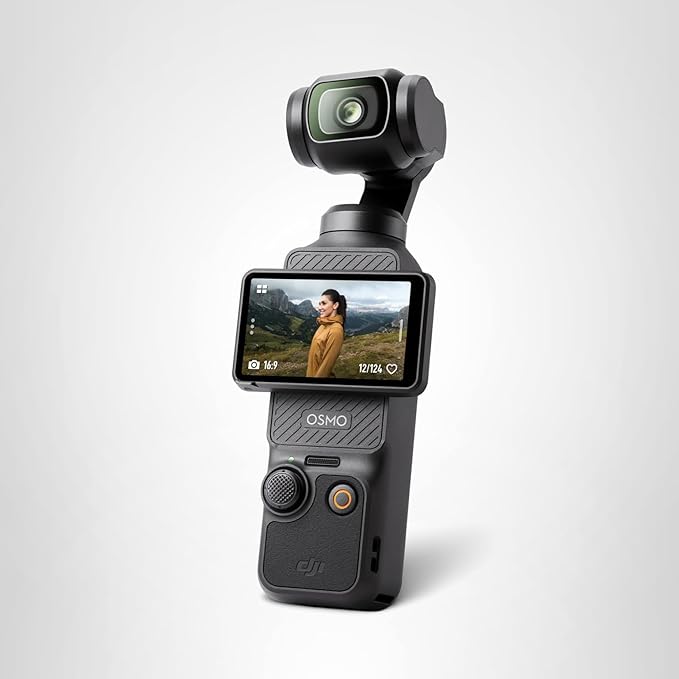
The DJI Osmo Pocket 3 is my camera for movement — the tool that saves me from shaky walking footage that even the best editing software can’t magically fix in post-production.
The DJI Osmo Pocket 3 has incredible stabilization (the 3-axis gimbal keeps the horizon beautifully level, even on uneven village roads), and it also frees up my phone for navigation, notes, or quick photos.
It’s packed with creative features like tracking and built-in timelapse modes too, although I personally use the manual gimbal modes most often.
One downside is that while the battery is decent, it definitely struggles more in intense Japanese summer heat — on long filming days, you’ll want a power bank or the battery handle. It also doesn’t replace the cinematic look of mirrorless cameras.
✅ Best for:
- Smooth walking shots, handheld movement, and solo filming
- “Carry you into the moment” footage without shake
🚫 Not ideal for:
- All-day filming without extra power
- People expecting mirrorless “cinema lens depth”
Audio (Microphones)
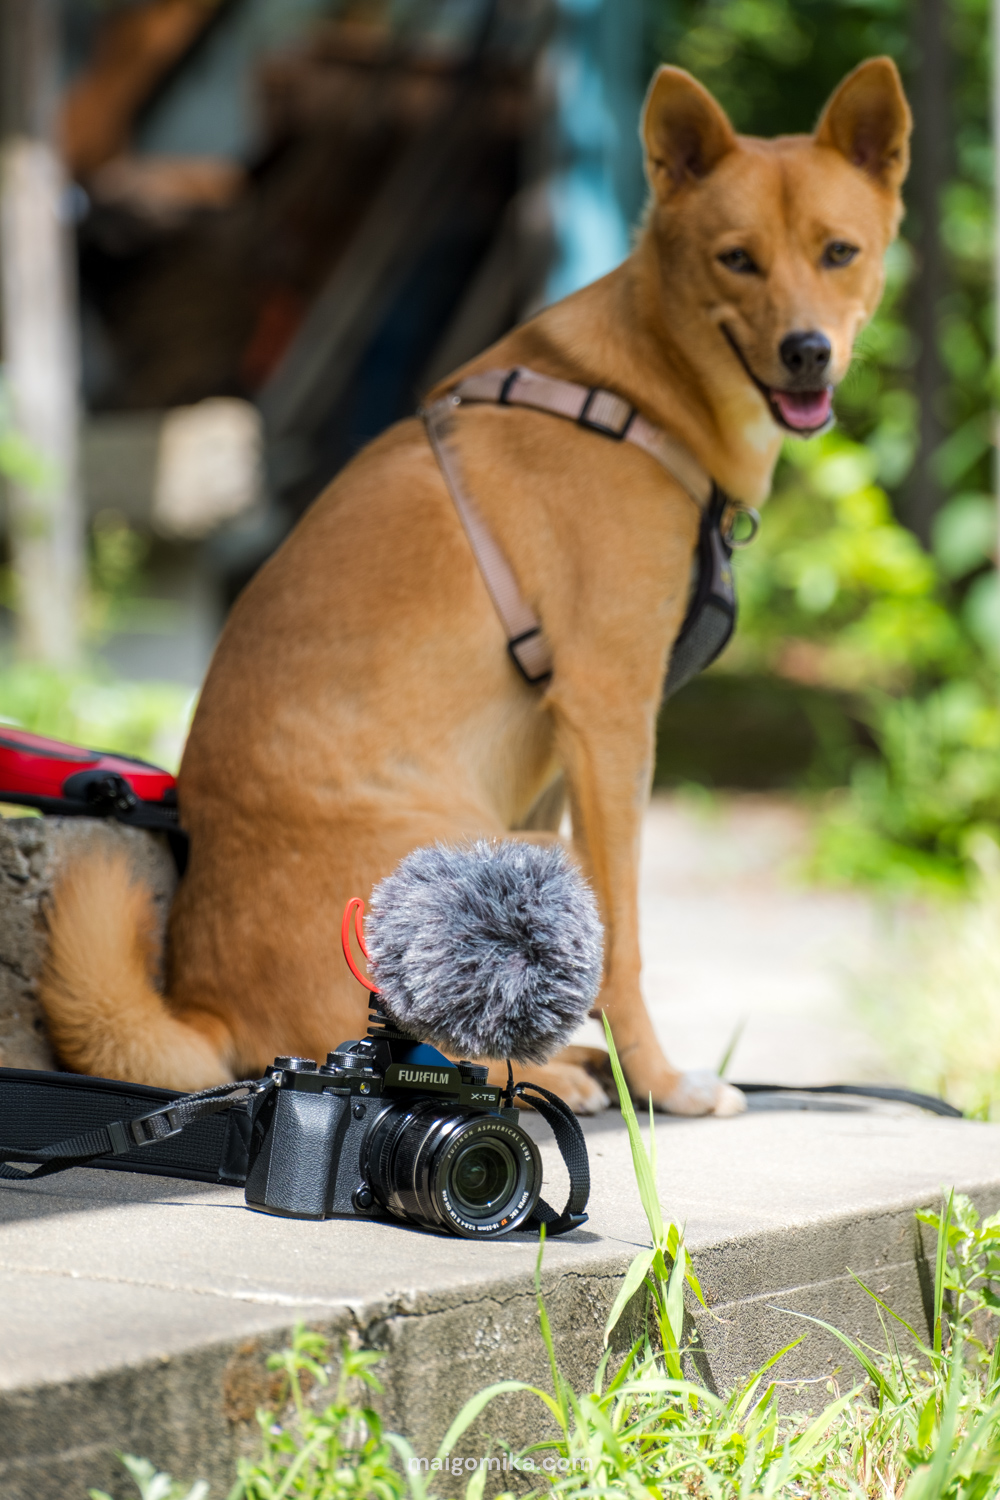
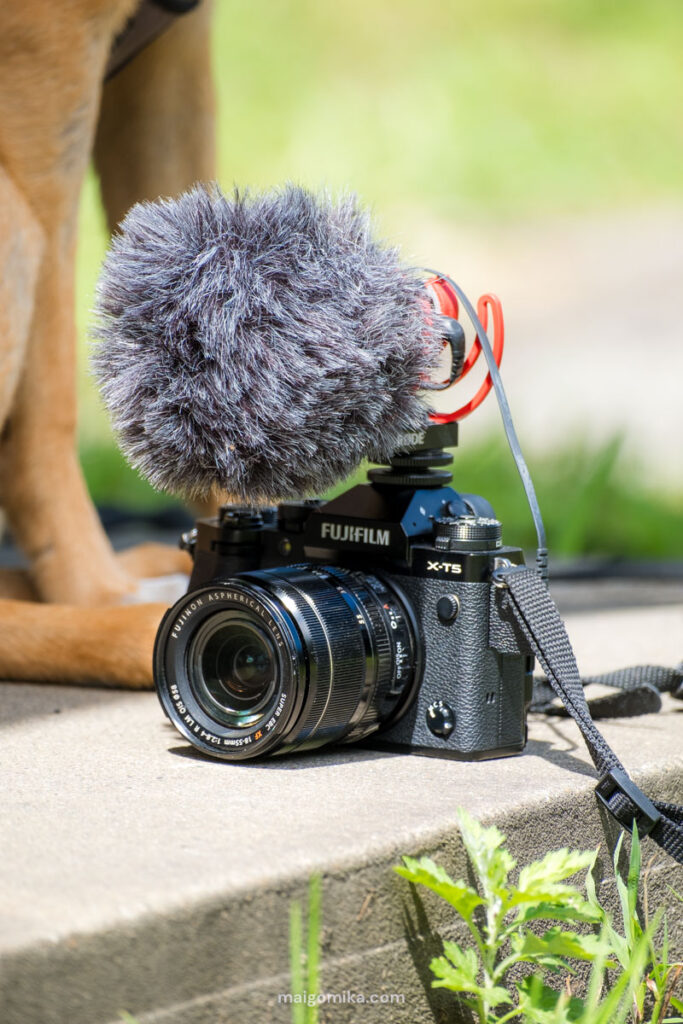
If there’s one place I think gear truly matters, it’s audio. You can film a beautiful scene and still lose an audience instantly if the audio is crackly, windy, or unclear.
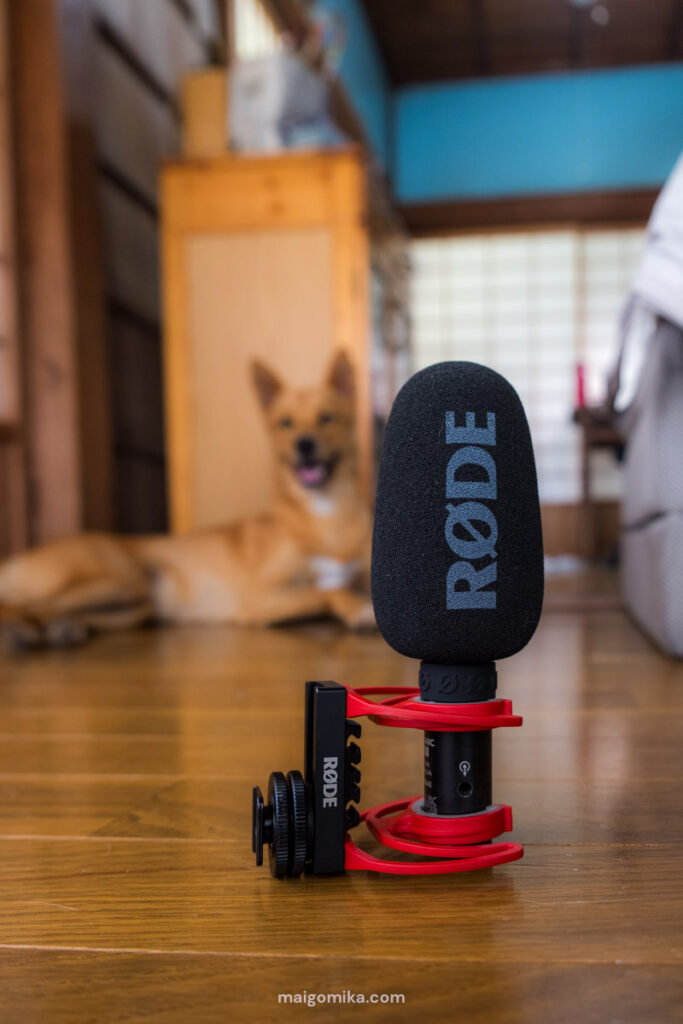
Rode VideoMic GO II (On-Camera Audio)
I use the Rode VideoMic GO II mounted on my camera. It adds a noticeably more robust sound than a built-in mic (especially outdoors) and makes cleanup later easier. While internal camera audio is often ‘good enough,’ it treats all background noise and subject voices equally. By switching to a directional microphone, I could isolate what’s directly in front of the lens while minimizing ambient distractions. Plus, I no longer have to hold my breath, so the built-in mic doesn’t pick up my breathing. 😅
I also use a deluxe windshield to reduce wind sounds, which makes a huge difference outdoors.
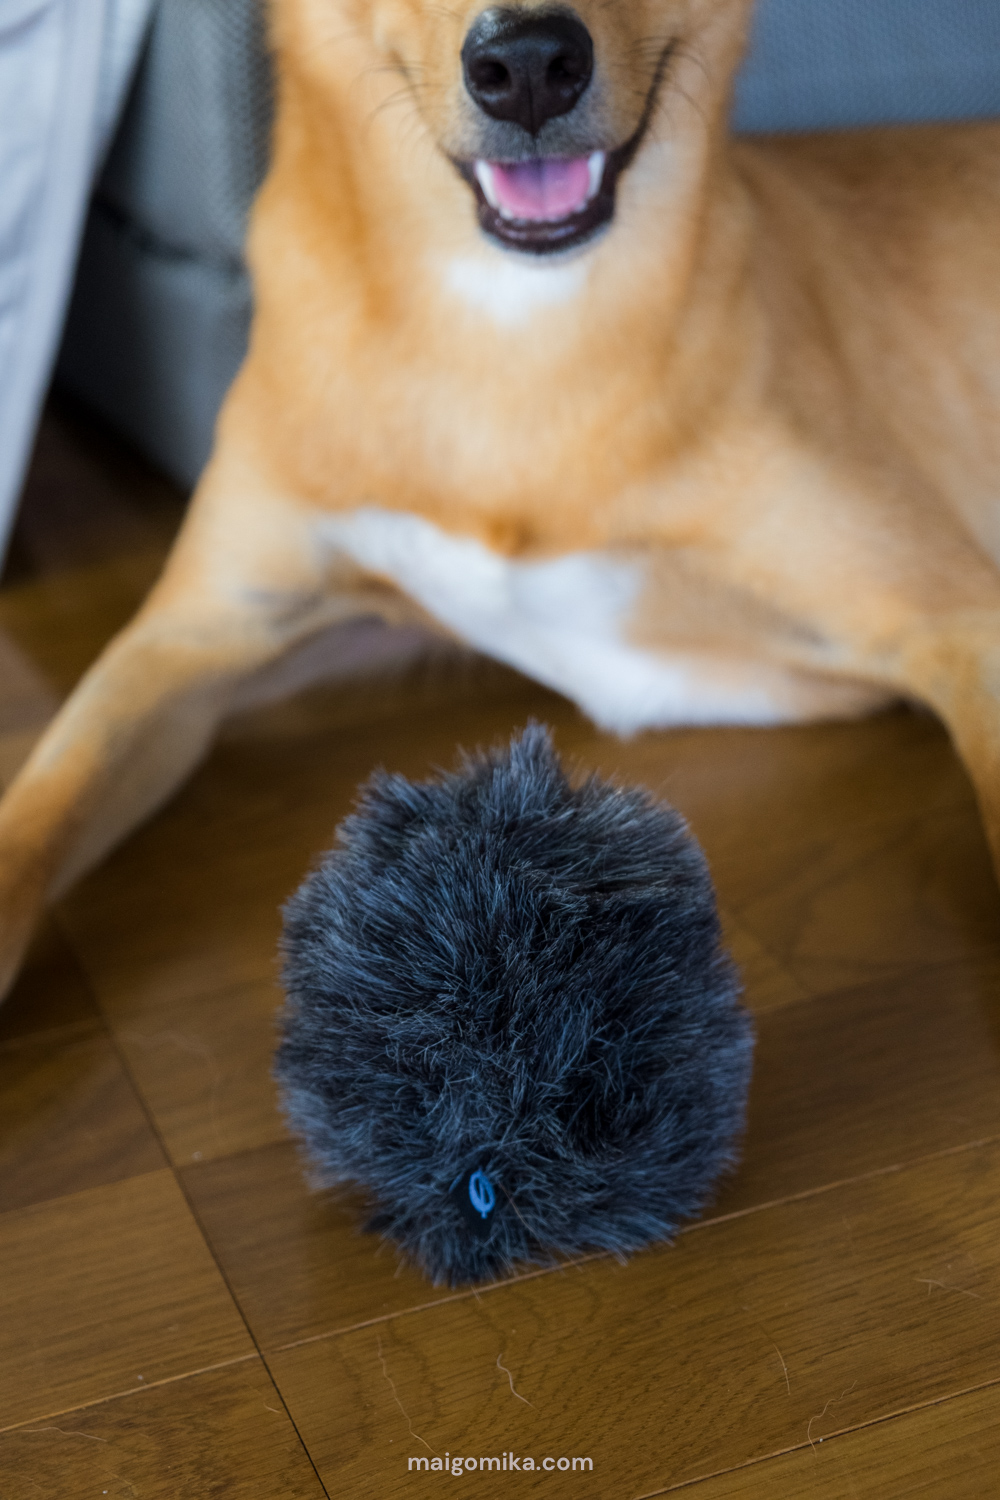
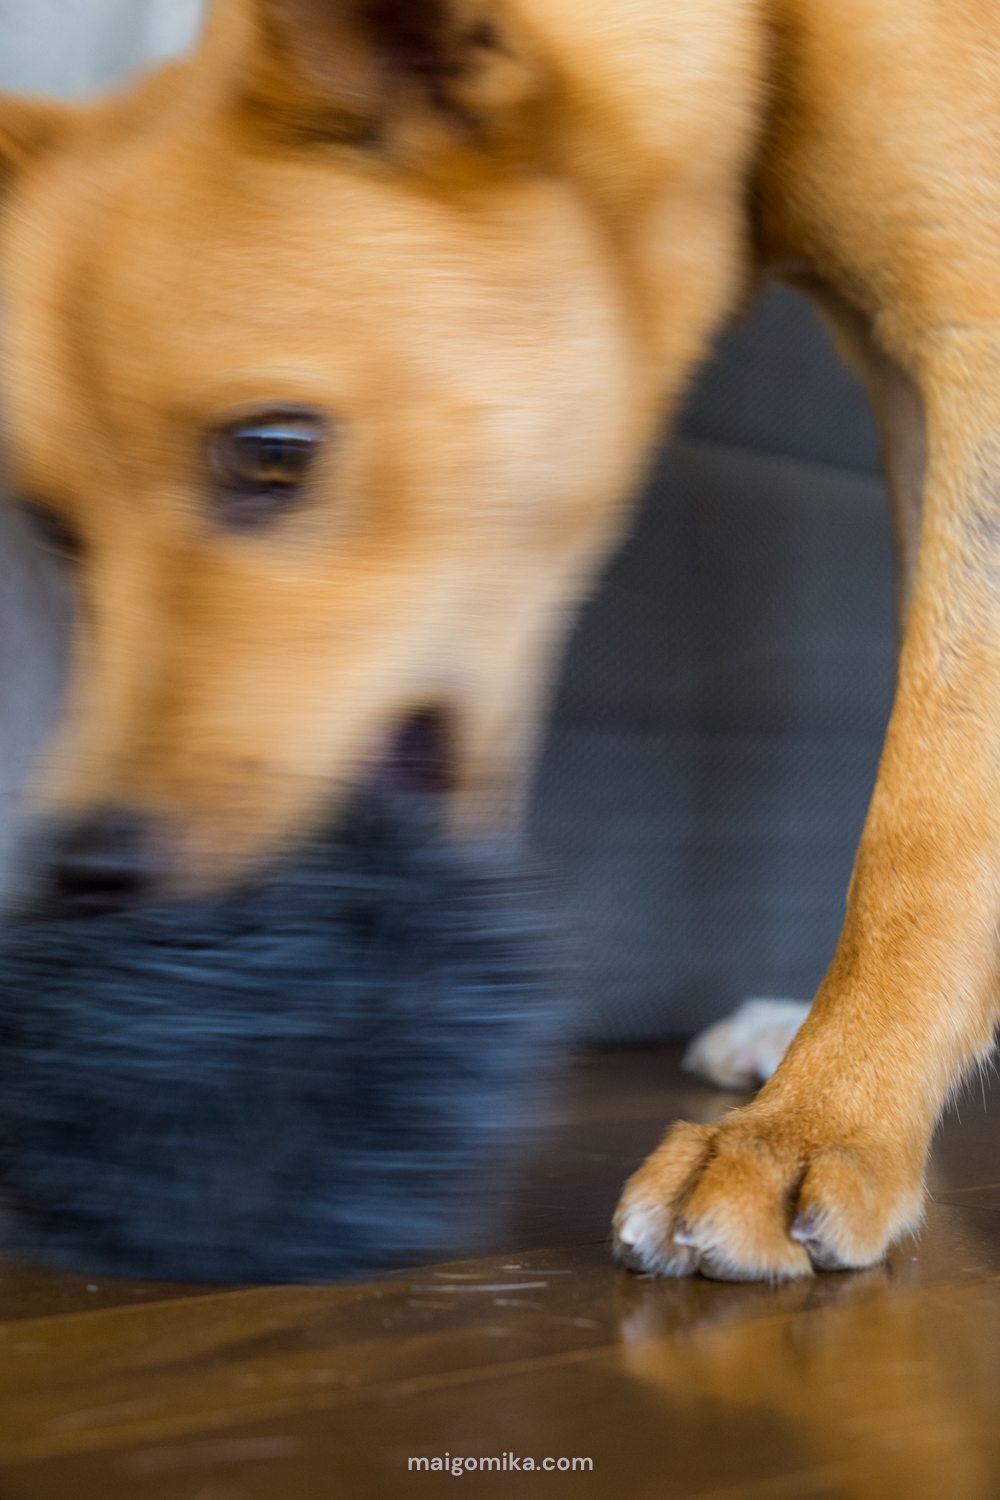
It’s also wonderfully lightweight and doesn’t require batteries — which keeps my setup simple — though I will admit the desktop app (if you use it) is a little clunky to use.
✅ Best for:
- Simple on-camera audio upgrades and setup
- Creators who want something lightweight and beginner-friendly
🚫 Not ideal for:
- Interviews where the mic needs to be close to the speaker
- Filming in the wind without a proper windshield
DJI Mic 2 (Wireless Interview Audio)
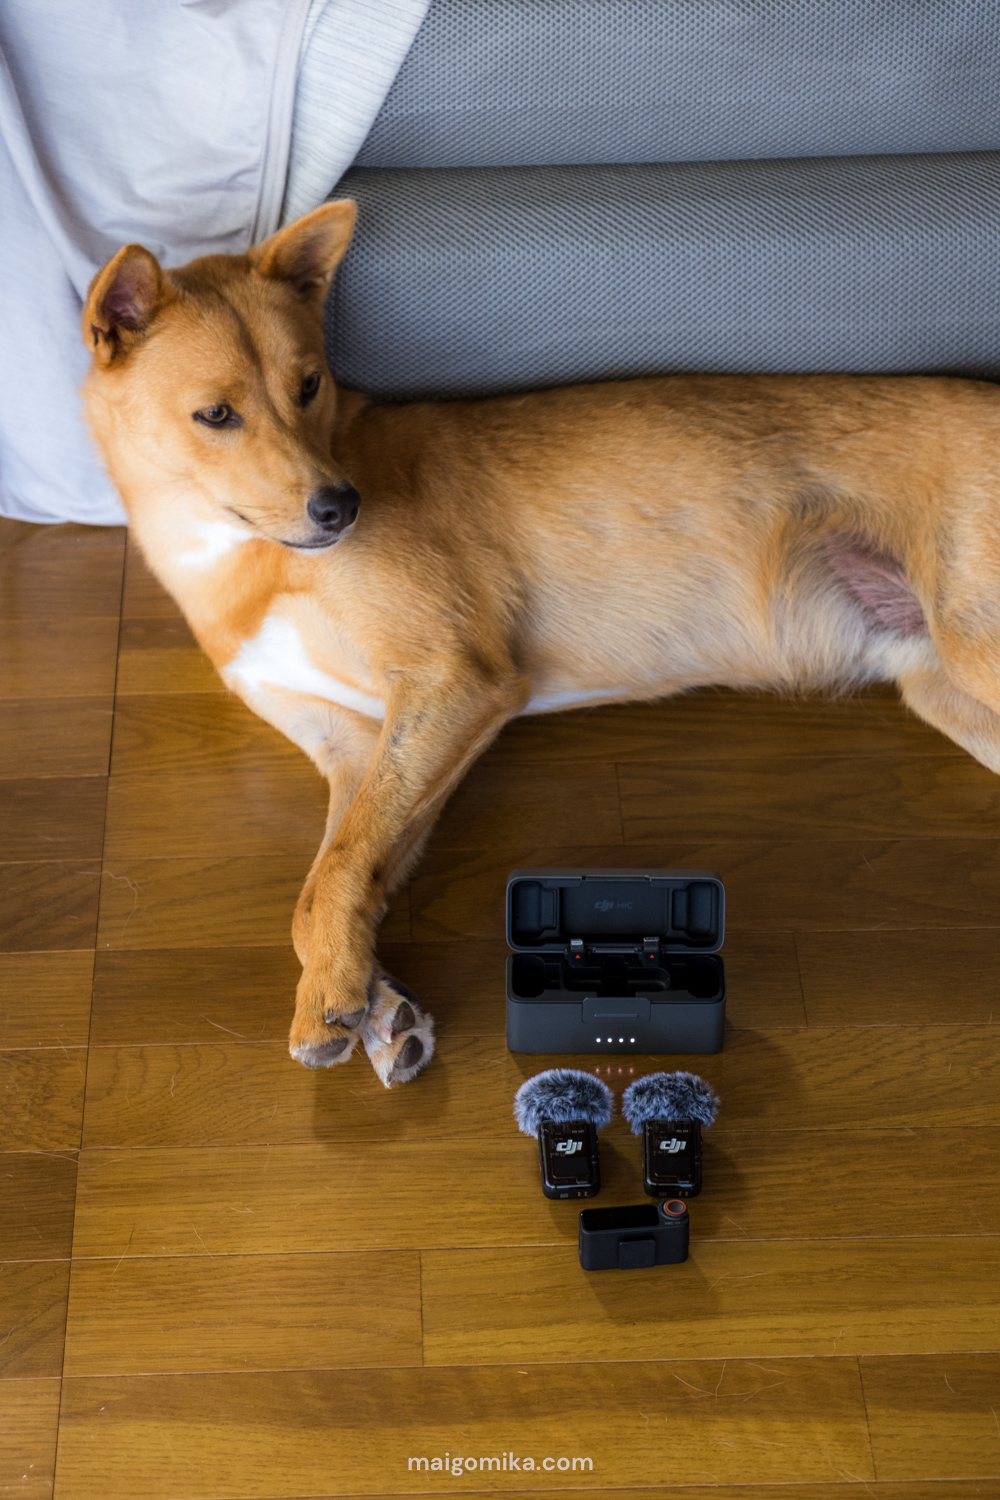
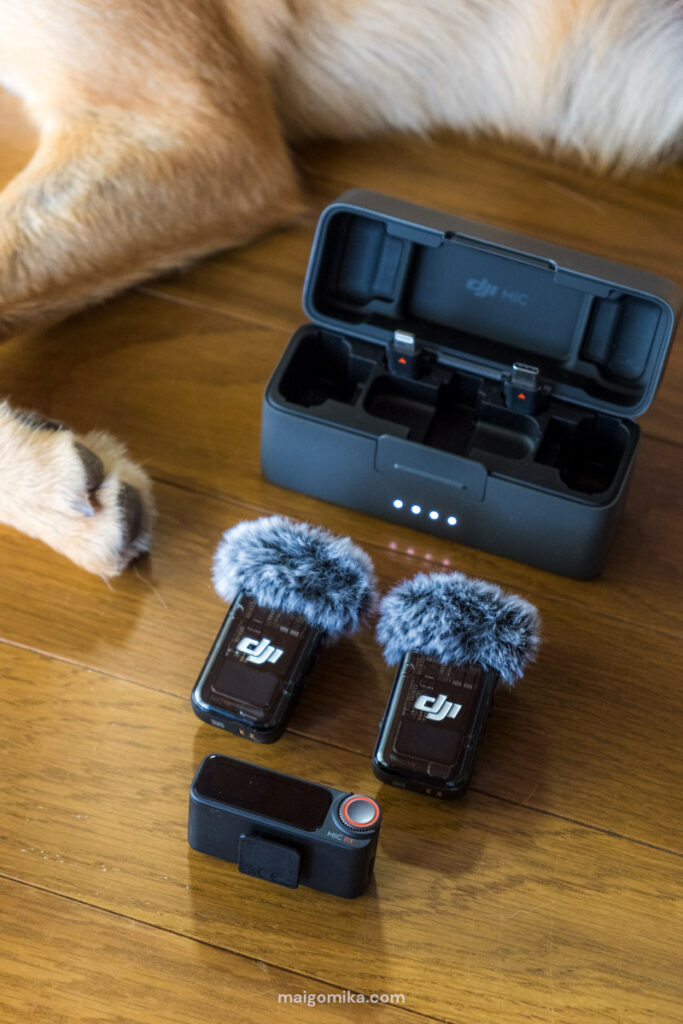
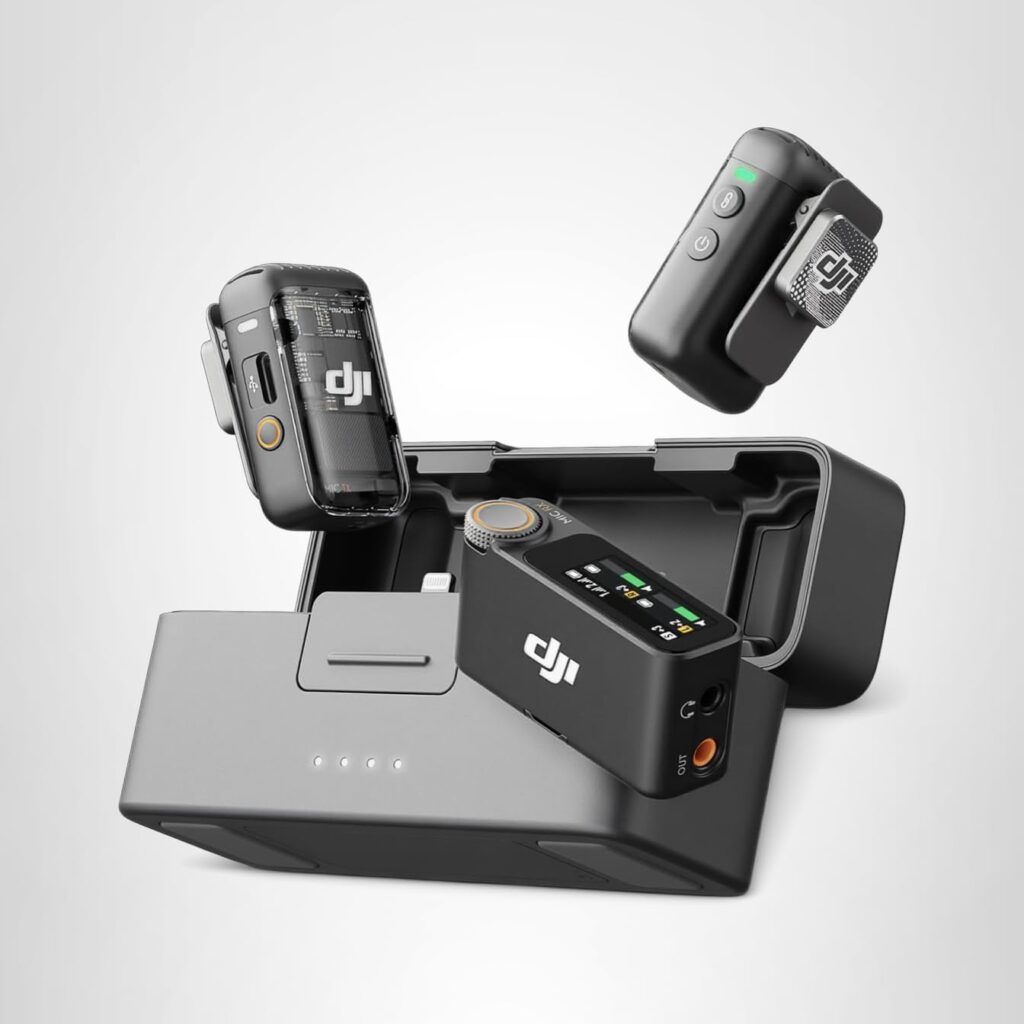
I invested in the DJI Mic 2 for interview-style recordings. These wireless lavaliers magnetically clip to shirts (so convenient), and everything lives neatly inside the charging case — which I appreciate because if something isn’t organized in a case, it will absolutely disappear into my countryside house within a week.
These mics are especially perfect for our Q&A-style filming, or whenever Jesse and I are both talking on camera. The biggest limitation is that it’s not a freestanding mic, so if you want a dedicated podcast setup with a “studio look,” this isn’t that.
✅ Best for:
- Interviews and two-person filming
- Outdoor filming where clean voice audio matters
- Creators who want wireless without complicated setups
🚫 Not ideal for:
- Podcast “desk mic” style setups
- Filming scenarios where you can’t clip a mic to clothing
Headphones
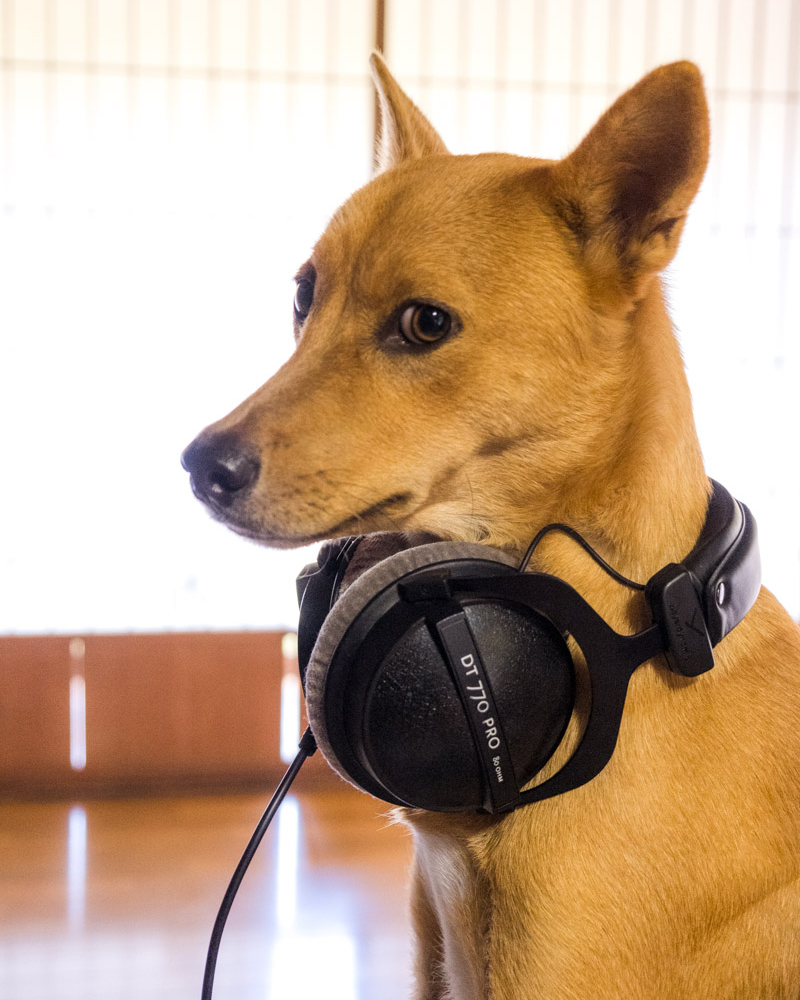
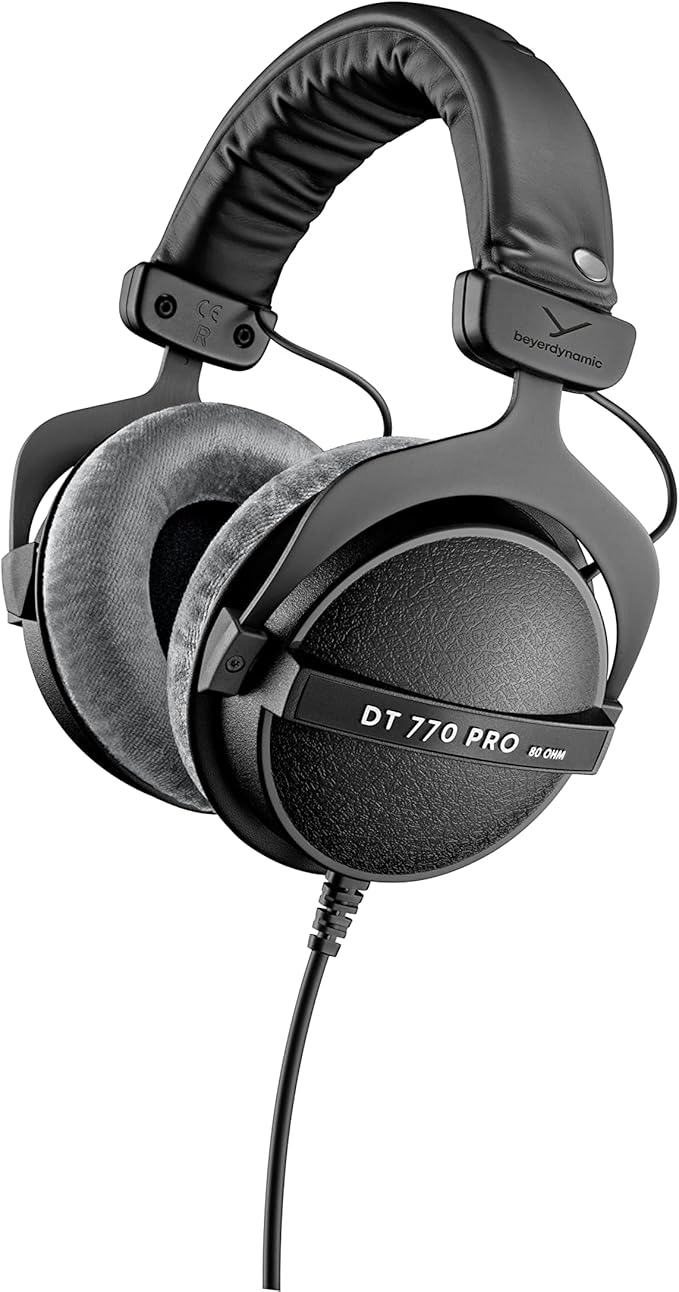
Beyerdynamic DT 770 PRO
I can’t imagine going back to cheap earbuds… and thankfully, Pancake made sure I didn’t by eating my cheap convenience-store-bought pair, prompting me to invest in “proper” headphones.
I upgraded to the Beyerdynamic DT 770 PRO headphones and completely understand why they’re considered industry legends. The closed-back design blocks outside noise, the sound is extremely detailed (I catch mistakes I used to miss), and the iconic velour ear pads are genuinely comfortable for long editing marathons.
The tradeoff is portability: they don’t fold, and the long cable is permanently attached — wonderful for a home studio setup, but a bit of a hazard if you’re moving around.
✅ Best for:
- Editing audio properly (catching hiss, hum, wind noise)
- Long editing sessions
- Creators who want to noticeably improve sound quality
🚫 Not ideal for:
- Travel editing and portable setups
- Minimalist creators who want foldable headphones
- Filming on location
Also read: Riverside.fm’s review of headphones for videographers ultimately sold me on these headphones, so I would suggest giving it a read for a more in-depth look at why they’re so great.
Camera Bags
Keeping gear organized is half the battle, especially when you’re filming in rural areas where you’re constantly moving between indoor projects, fields, village roads, and riversides.
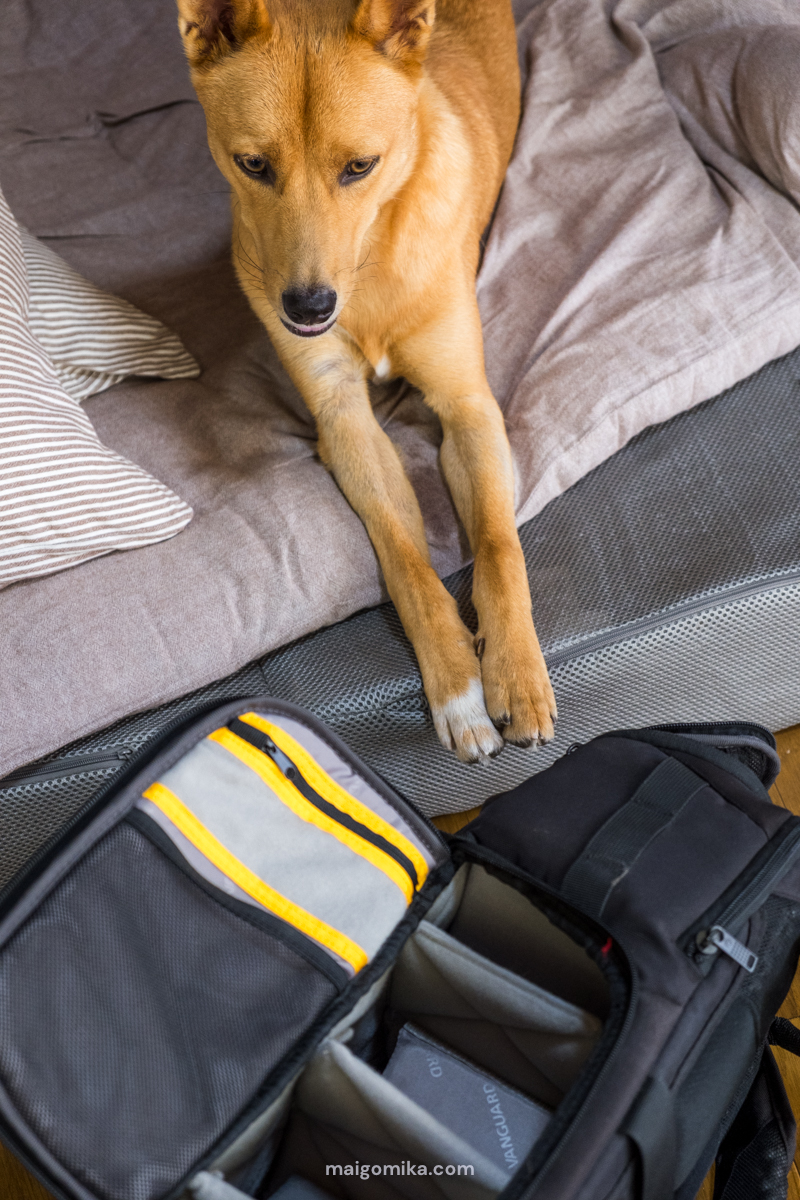
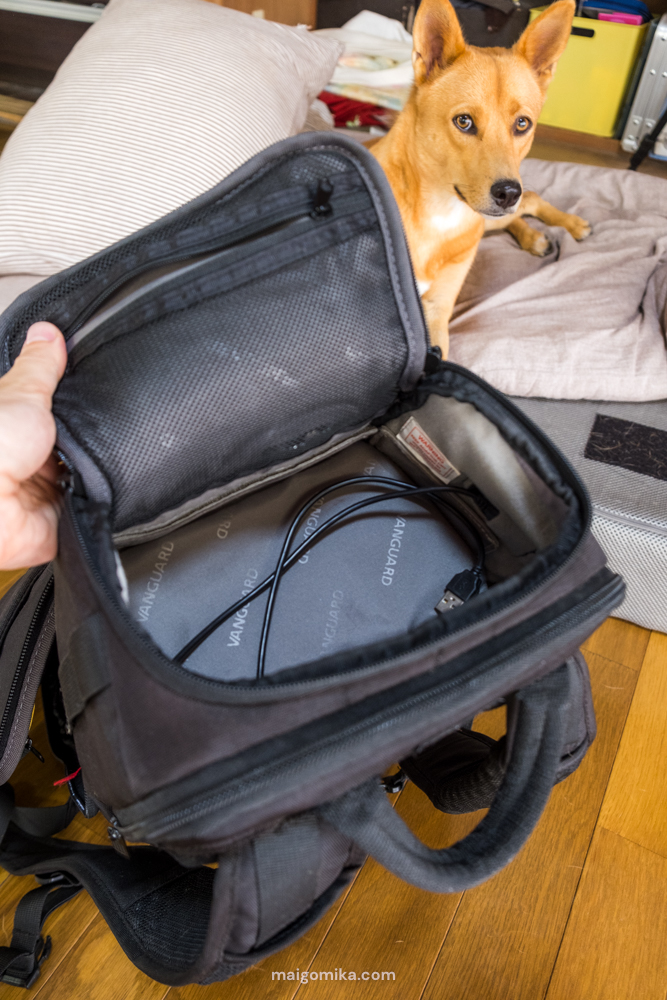
VEO Adaptor S46 Black Camera Backpack (My Daily Bag)
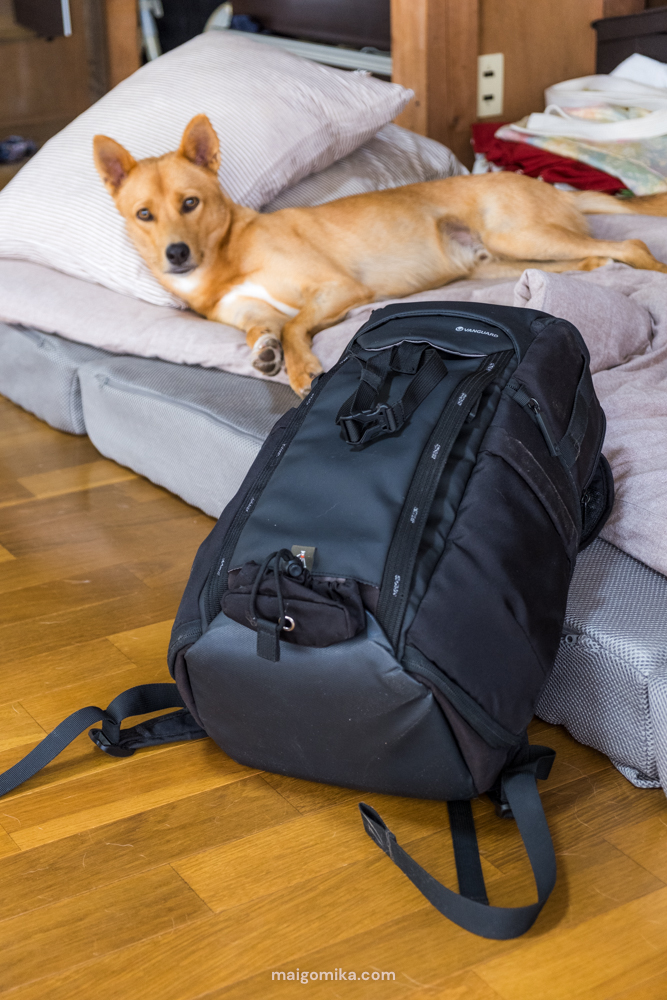
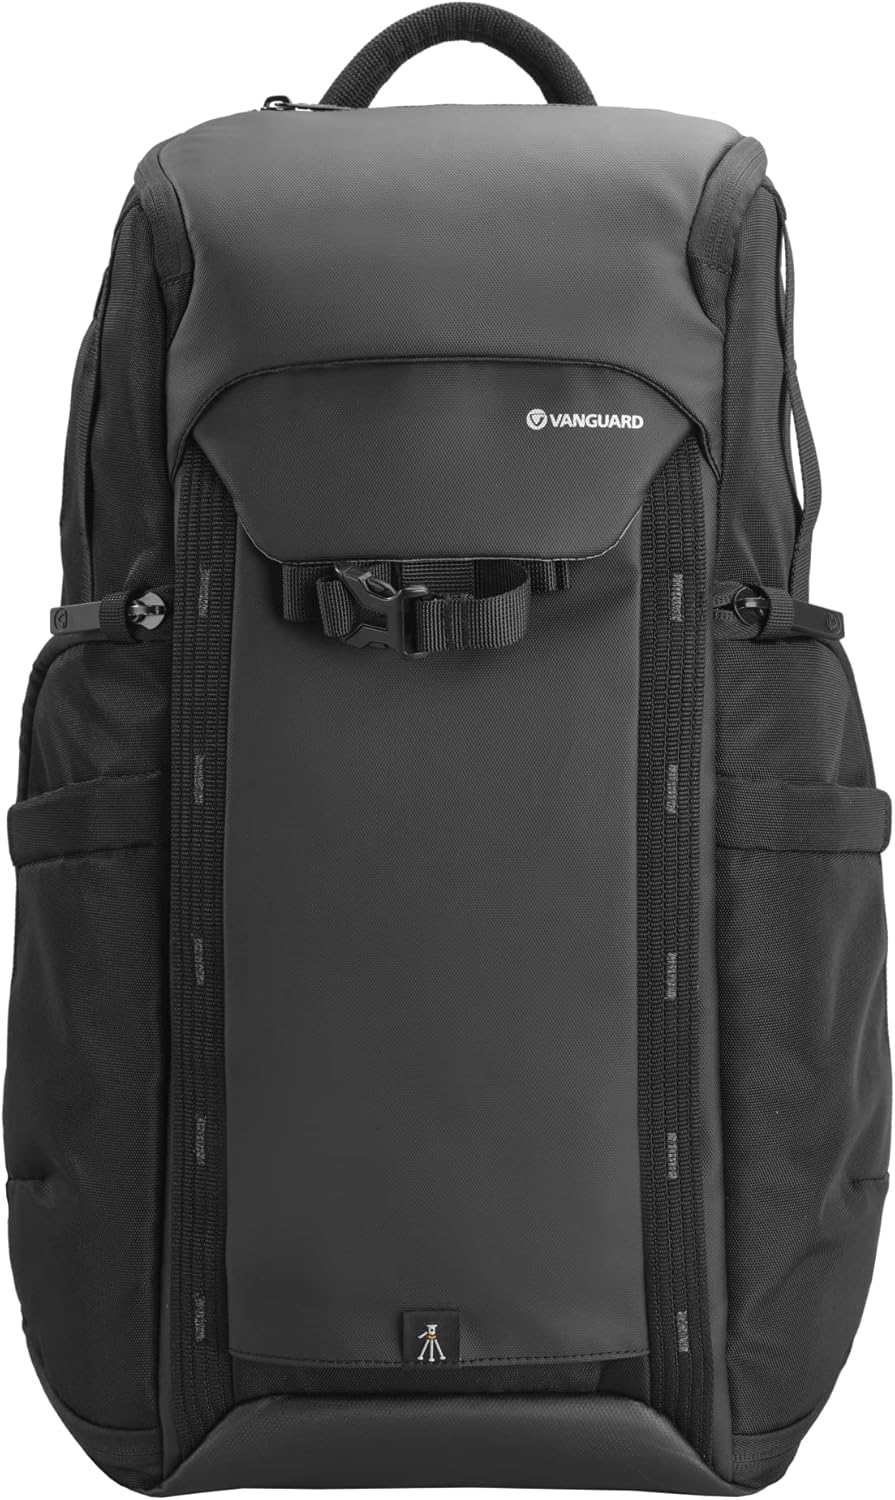
The Vanguard VEO Adaptor S46 is my daily bag — compact and light, but still capable of holding a serious kit (two cameras + multiple lenses). I love the organization and adjustable compartments, and the top pouch is perfect for mics, wallet, and “small things I’ll panic about losing.”
One of my favorite little details is the built-in cord that lets you connect a portable battery and charge your phone while you’re walking — extremely helpful on filming days. The downsides: the tripod holder feels a bit flimsy, and the side access system can be confusing (I always forget which side my camera is on).
✅ Best for:
- Multi-lens creators who want organization
- Rural filming days where gear needs to be protected
- People who like compact backpacks with structure
🚫 Not ideal for:
- Minimalist setups
- People who dislike side-access backpacks
- Heavy tripod users
Tenba Solstice 7L Sling Bag
The Tenba Solstice 7L sling bag was my first camera bag and it’s still one of my favorites — especially on days when I only want one camera and one or two lenses.
The sling style is so quick: swing it forward, grab the camera, swing it back. It makes filming feel effortless. The tradeoff is capacity, and if you pack it too full, you’ll definitely feel it in your shoulder after a long day.
✅ Best for:
- Minimal setups
- Quick access filming
- Day trips and casual countryside exploring
🚫 Not ideal for:
- Heavy all-day kits
- Multi-lens setups
- Long hikes with lots of gear
Royalty-Free Music
If you’ve watched my videos, you probably already know this… I’m very picky about music.
I can spend hours digging through playlists just to find the one track that makes a moment click — and as my channel grew, I found myself rotating between three platforms depending on the vibe.
1. Uppbeat (The “Starter Pack” Essential)
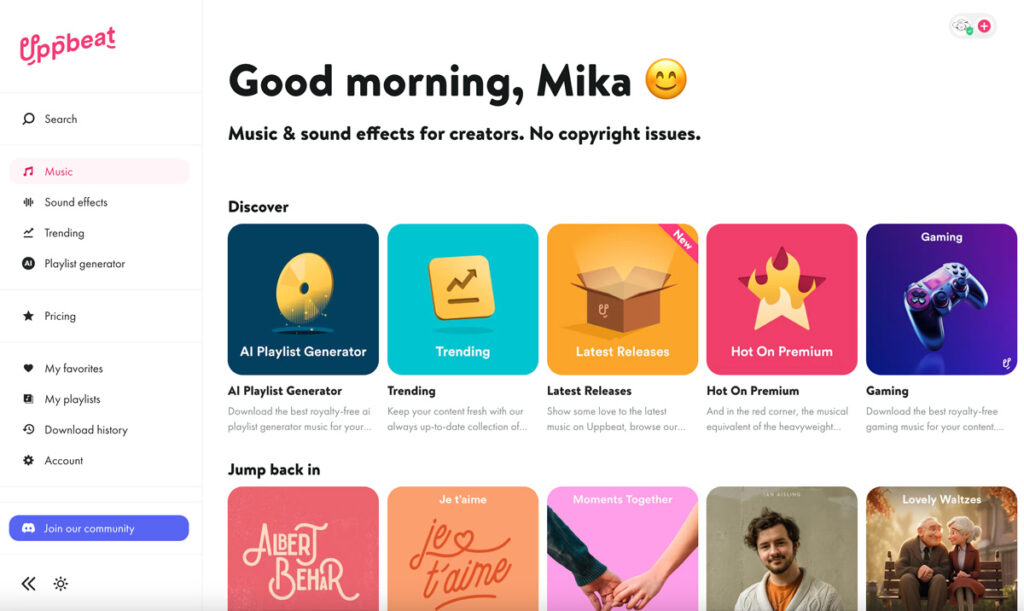
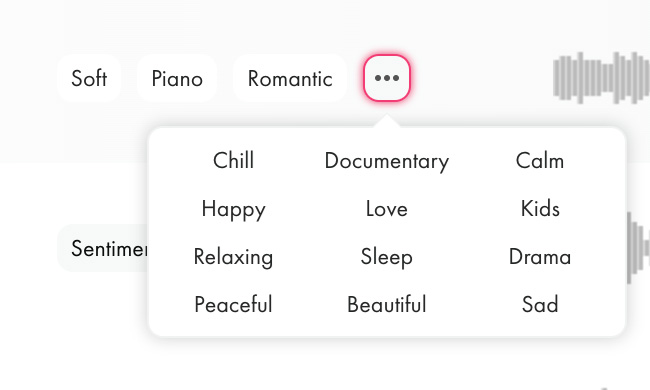
Uppbeat is still my go-to for budget-friendly music that’s easy to find and easy to use. The interface is genuinely the most intuitive I’ve tried (the player never stops, even while browsing), and the discovery system makes it easy to find “music like this” with one click. If a song is almost right, one click gives you a massive list of similar vibes. Plus, their visible “tags” make it so easy to jump into a new genre without extra clicks.
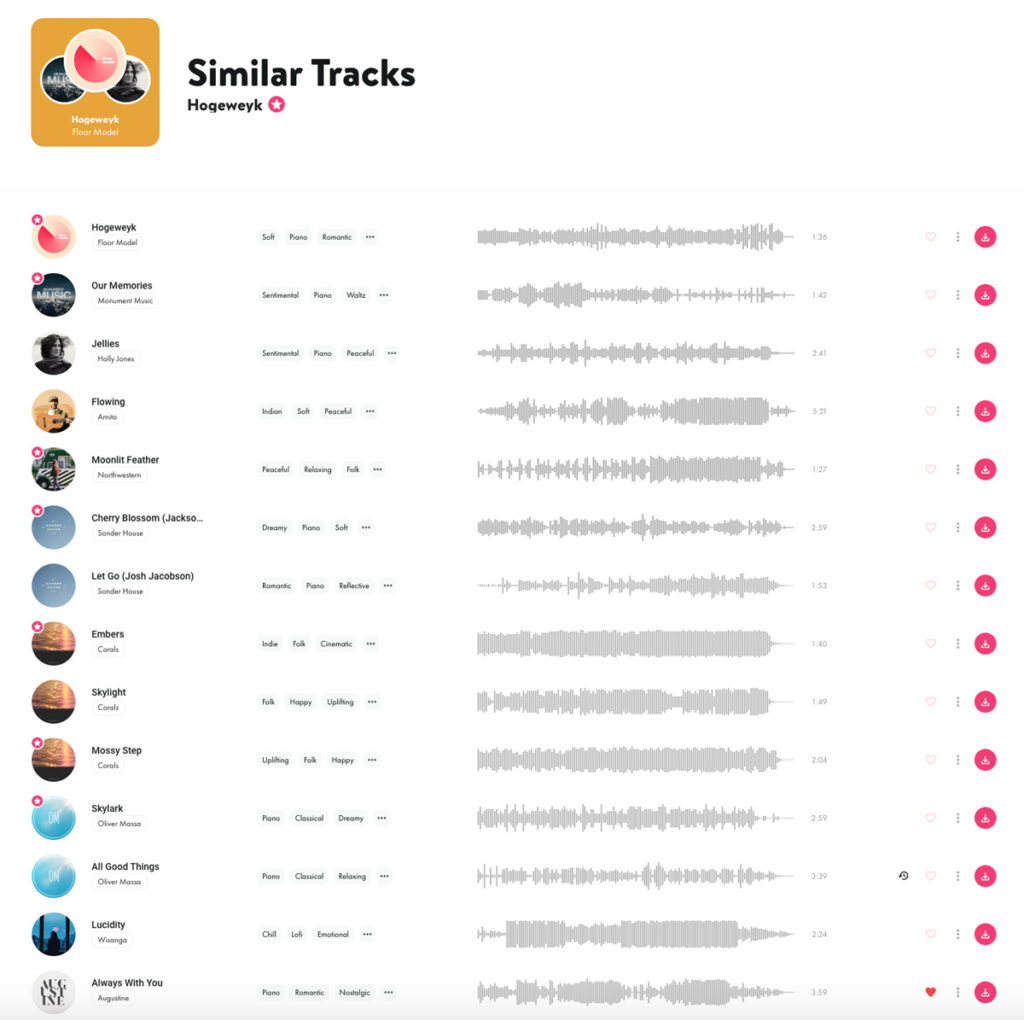
They offer a free account (3 free downloads) and an Essentials package at $5.59/month (includes music and sound effects), but the one that offers the most bang for your buck is the Creator plan at $7.99/month.
This includes access to their music library, sound effects, plus creative assets like LUTs and graphics, something the other providers don’t include unless you shell out the bigger bucks.
That said, the library is smaller than competitors, and the SFX selection isn’t as deep.
✅ Best for:
- Beginners & growing channels
- Fast workflow + intuitive interface
- Discovering similar tracks quickly
🚫 Not ideal for:
- Huge library needs
- Extremely niche genres
- Deep cinematic scoring hunts
2. Artlist (The Professional Step-Up)
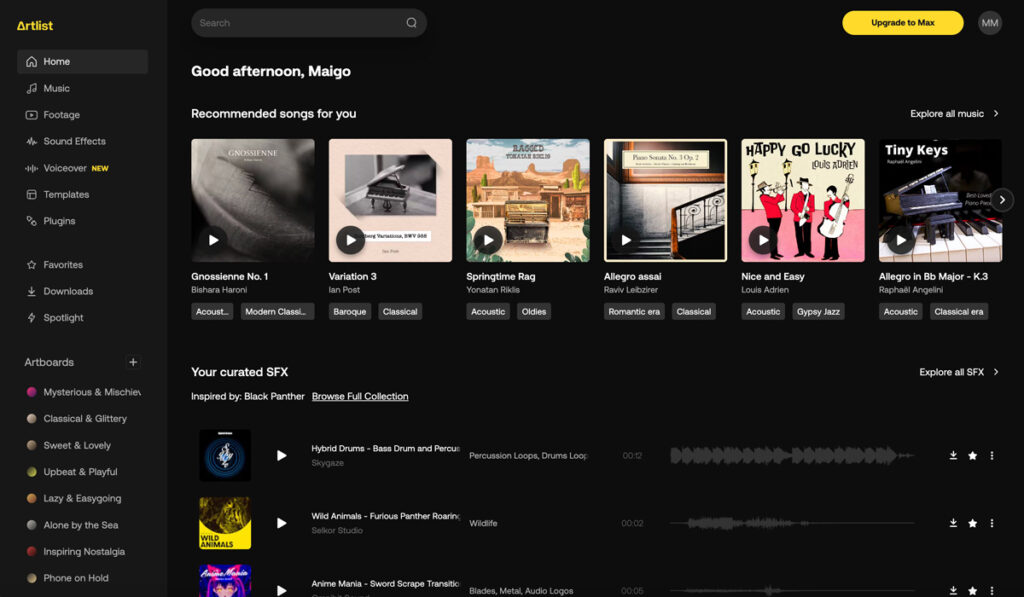
Artlist was where I went when I needed more variety—especially classical music (think Beethoven/Bach energy.) If you’ve “outgrown” the sounds on Uppbeat, this is your next stop.
The Music & SFX plan at $9.99/month (billed annually) includes music, sound effects, and stem downloads. If you want access to any creative assets (LUTs, graphics), you will have to upgrade to their AI MAX plan at $39.99/month.
The quality and size of the library are a major step up, but the interface can feel a bit closed off compared to Uppbeat, and the search tool can sometimes be… a journey. (Another reason why I recommend Uppbeat for beginner YouTubers).
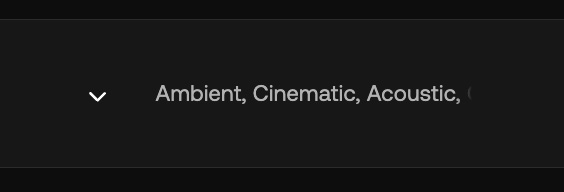
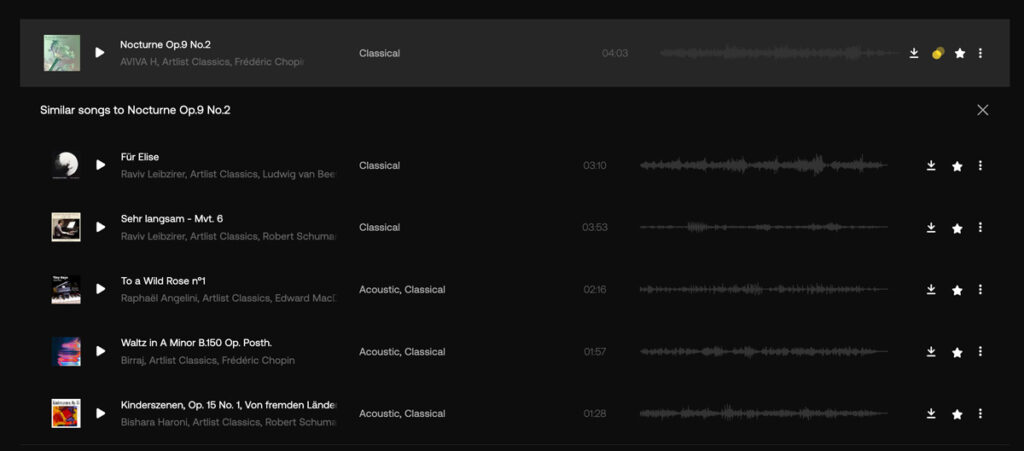
Unlike Uppbeat, you often have to click into a song’s specific page just to see all its genre tags. Their “suggested songs” list is also capped at just five tracks—not ideal when you’re on a deep-dive hunt for a specific vibe.
The search feature can also be frustrating. Even if I know the exact name of a song on the platform, typing it in doesn’t always bring it up immediately; instead, it shows “related” songs first. There have been times I’ve actually had to exit Artlist and use Google just to find the direct link to a song I already knew was in their library!
✅ Best for:
- Bigger library and professional variety
- Classical music needs
- Creators leveling up production value
🚫 Not ideal for:
- Anyone who wants the smoothest UI/search experience
- People who want creative assets without high-tier pricing
- Creators who get frustrated by finicky interfaces
My Takeaway: While I find the search interface a bit frustrating, I love that I can download music stems and access a larger library. Therefore, I recommend Artlist when you’re ready to level up from Uppbeat.
(P.S. Use my referral Artlist link to get a 2-month extension on your full-year subscription!)
3. PremiumBeat (For Cinematic Moments)
While Artlist and Uppbeat are my daily drivers, PremiumBeat is what I reach for when a project needs that “extra” something that feels like a film score — sweeping, emotional, high-production tracks that make a scene feel bigger.
If you are a fan of rich, orchestral arrangements, their library is incredible. It’s been my go-to for those more sophisticated, cinematic moments.
It’s more curated, which means less time wading through filler tracks… but the download workflow is a bit of a multi-step headache that feels slightly clunky compared to the “one-click” ease of Uppbeat or Artlist.
Pricing starts at $9.99 / month for the Creator plan, and includes music, sound effects, and stem downloads.
✅ Best for:
- Cinematic storytelling moments
- High-quality orchestral tracks
- Emotional “this is the moment” scenes
🚫 Not ideal for:
- Fast weekly content creation needs tons of tracks
- Creators who want one-click simplicity
- Anyone wanting the cheapest option
Storage Workflow
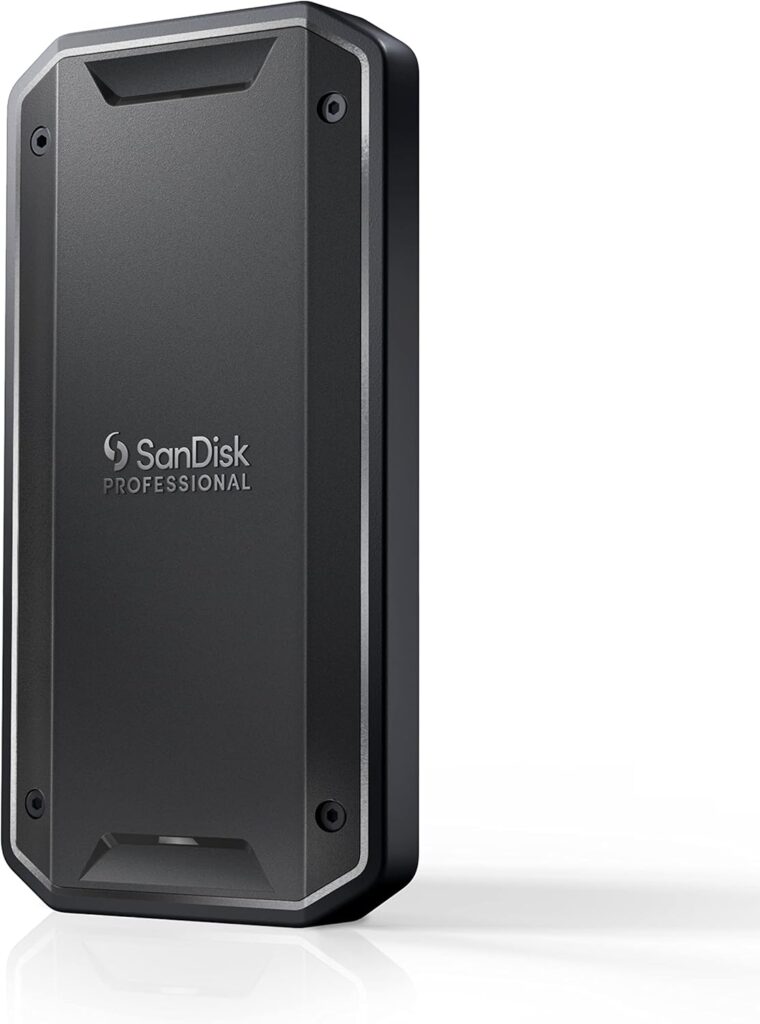
SanDisk Professional 4TB PRO-G40 SSD (My Editing + Backup Drive)
It didn’t take long for me to outgrow my computer’s internal storage — especially once my footage library became a mix of long countryside filming days, time lapses, and high-quality files from multiple cameras. While a standard HDD is perfectly fine for long-term archiving, I needed something fast enough to edit directly from, without waiting for files to load or transfers to finish.
The SanDisk Professional 4TB PRO-G40 SSD is fast enough that I can edit video straight from the drive with zero lag, which makes a huge difference to my efficiency (and honestly… my sanity). I can also backup footage during filming trips and field days, so I have redundant copies while I’m still on the road.
It is on the pricier side for SSDs, but with 4TB of capacity and seamless performance, it’s been one of those “quiet hero” purchases that genuinely improved my workflow.
✅ Best for:
- Editing video directly from an external drive (fast workflow)
- Creators who film often and generate large files quickly
- Field days/travel filming where you need fast backups on the go
- Anyone who wants peace of mind through redundant storage while traveling
🚫 Not ideal for:
- Budget creators who only need occasional storage for photos
- Long-term archiving only (an HDD is cheaper for that)
- Minimalist creators who don’t yet need multi-terabyte storage
Read more reviews on the SanDisk Professional 4TB PRO-G40 SSD →
Editing Software
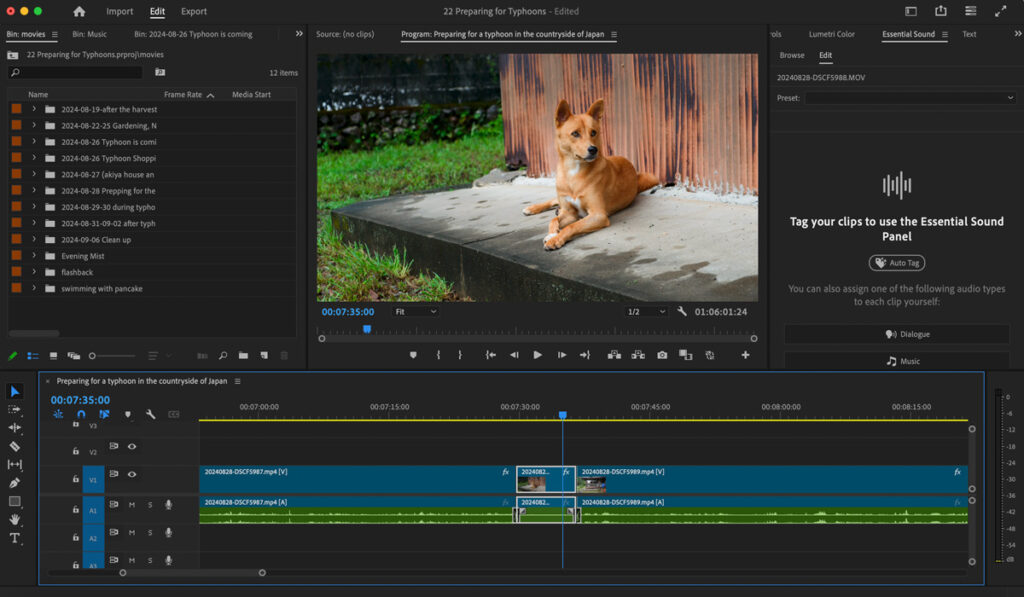
Adobe Premiere Pro
I edit in Adobe Premiere Pro — mostly because I was already deep in the Adobe ecosystem with Photoshop, InDesign, and Lightroom, so Premiere felt like the natural next room in the house.
One of the features I love about Premiere Pro is the remix tool, which lets you stretch or shrink music tracks to match your scene length without awkward cutting.

It’s an industry titan with a tutorial for everything… but it’s also expensive (subscription forever, starting at $22.99/month), and the learning curve is real.
✅ Best for:
- Adobe Creative Cloud users
- Creators who want professional editing depth
- Music-heavy editing workflows
🚫 Not ideal for:
- Beginners wanting simple editing
- Anyone who hates subscriptions
- Casual creators who edit only occasionally
If you aren’t already paying for the Creative Cloud, I’d suggest looking at these before committing to a monthly bill:
Final Cut Pro (The “One-and-Done” Choice): Another industry heavyweight, but it costs a one-time fee of $299.00. No subscriptions. Plus, they offer a generous 90-day free trial so you can really get a feel for it.
DaVinci Resolve (The “Budget” Professional): I’ve heard incredible things about its simplicity and world-class color grading. Best of all? They have a free version that is surprisingly powerful and not just a “limited trial.”
CapCut Desktop (The Beginner’s Shortcut): If you just want to “dip your toes in” for social media content without a steep learning curve, this is a very popular, user-friendly starting point.
At the end of the day, Premiere Pro made sense for me because I was already through the Adobe door. However, if you aren’t tethered to the Creative Cloud, don’t feel pressured to use the “pro” tools just because of the name. Start with a free trial elsewhere—your wallet might thank you.
Final Thoughts (Start With What You Have)
It’s worth mentioning again: I started with an older Fujifilm and an iPhone.
And it was enough.
If you’re dreaming of starting a YouTube channel, my biggest advice is this: start with what you already have and upgrade slowly once you understand what kind of videos you love making.
Gear can improve quality — especially audio quality — but it’s your storytelling, your perspective, and your consistency that keep people coming back.
And if you have questions about any of the gear I use, feel free to leave a comment — I’m always happy to help fellow creators. 🤍