
Imagine a fruit so sour, so tart, it practically makes your eyes water… yet it transforms into some of Japan’s most iconic culinary creations. In a recent video, Jesse, our dog Pancake, and I (Mika, your Canadian host living in a Japanese akiya) dove headfirst into the world of ume, the ultra-sour fruit that forms the cornerstone of traditional Japanese cuisine.
From the famously tart umeboshi pickled plums to sweet syrups and refreshing cordials, this summer we embarked on a mission to make every single one of these ume-centric flavors – some from tried-and-true recipes, and some first-time experiments!
The Ume Processing Journey: From Tree to Jar
Our ume journey began with the harvest. Ume picking season typically runs from late May into early July. With a mid-summer heatwave and a tree loaded with fruit in a rather precarious location, it took me a couple of days to gather our full harvest.
I used extended pole cutters for the higher branches, giving them a good shake to release the fruit. For those elusive, hard-to-reach clusters, it was a more direct approach – basically, me climbing into the tree like a monkey! And sometimes, when you’re deep in the thick of it, a critter may hitch a ride, like the amazing stick insect (nanafushi) that accidentally joined our harvest.
Read More: My Guide to Homemade Umeboshi (+ Mistakes to Avoid!)
Once harvested, these tart fruits are ready for their transformation! The initial steps are the same for all ume projects:
- Washing: Thoroughly wash the ume under cold running water to remove any dirt or dust.
- Selection: Select fresh, firm ume, setting aside any that are molding or blemished.
- Removing Stems (Heso/Heta): Gently pick out the small, dark stems using a toothpick or bamboo skewer.
- Drying: After washing and destemming, spread the ume out on a clean towel and let them dry, or gently pat them dry with a clean cloth. I even like to give them an extra rinse with high-proof clear alcohol for good measure.
Crafting Ume Delights: Umeboshi, Umeshu, Syrup & Jam

In the video, we tackled several ume creations, each with its own unique charm:
Umeboshi (Pickled Plums) – The Star Project
The undisputed star of ume cuisine is umeboshi. These sour and salty pickled ume are perhaps the most famous ume product, often served with plain white rice, as a filling for onigiri (rice balls), or packed into bento boxes.
For this recipe, I used a simple method shared by a neighbor: one kilogram of ume to 200 grams of salt. After cleaning our container, we alternately layered the ume and salt, adding a weight to help the plums release their juice and stay submerged in their brine, which is crucial to prevent spoilage. This initial stage takes several days.
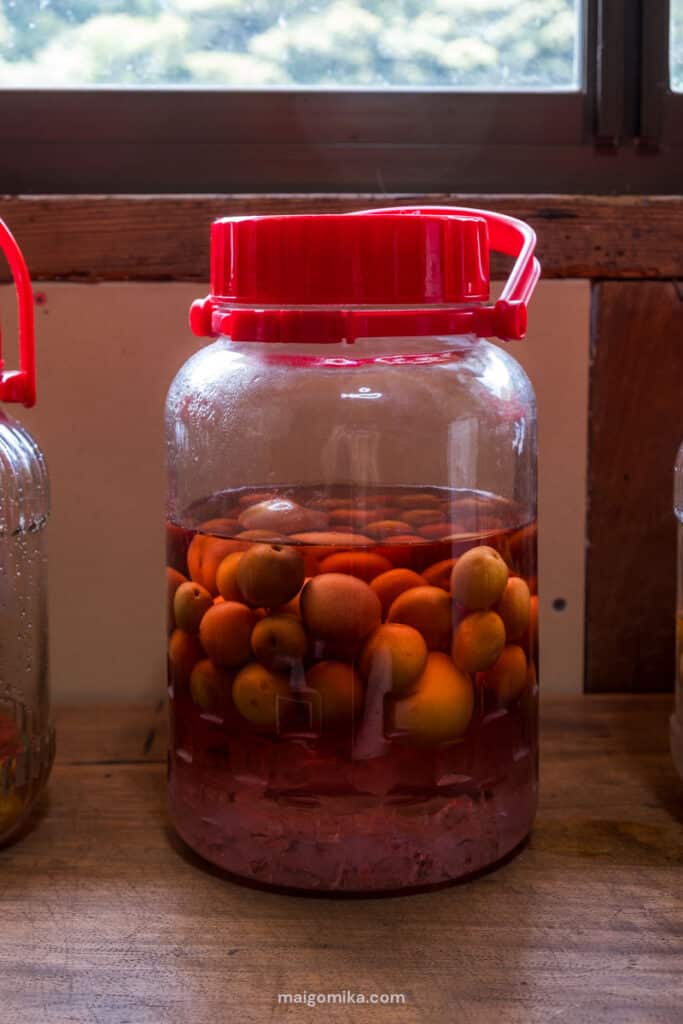
Umeshu (Plum Liqueur)
We also dove into making umeshu, often called “plum wine.” This sweet and tangy liqueur is made by steeping green ume fruits in rock sugar and a neutral distilled spirit. It’s a popular, refreshing drink, especially in summer. Since we still had a good stock of umeshu from two years ago, I decided to change things up this time by experimenting with a plum variety called Sumomo. In about six months, our umeshu will be mature and ready to drink!
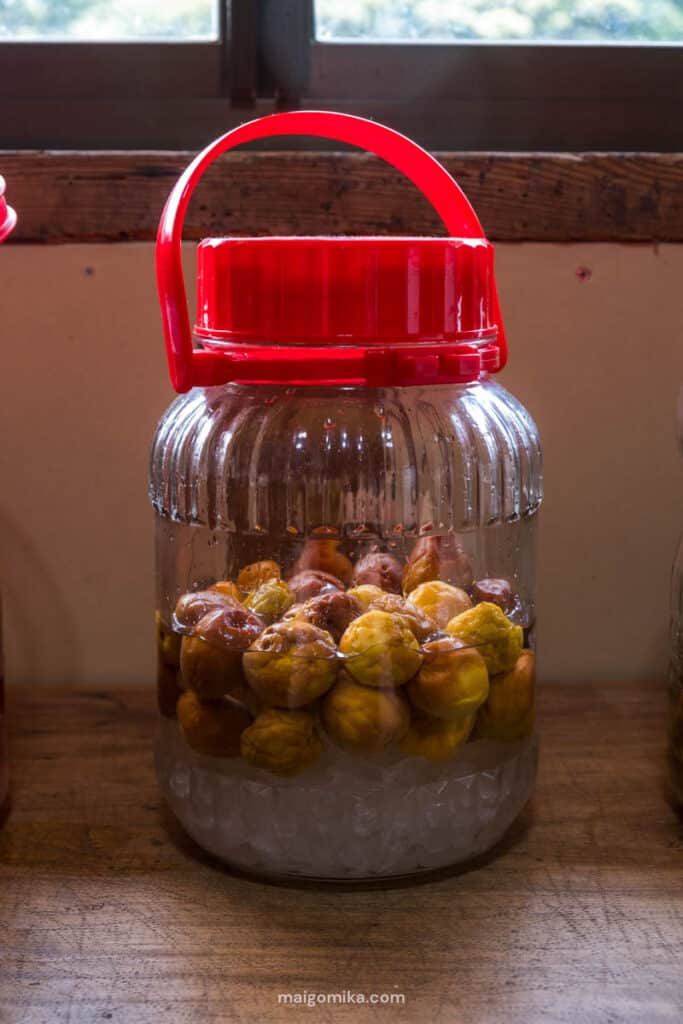
Ume Syrup
This was my first time making ume syrup! This non-alcoholic, sweet, and tart syrup is made by macerating ume with rock sugar. It’s diluted with water or sparkling water for a refreshing beverage, and I’m hoping it will be the perfect thirst quencher when Japan’s summer heat truly hits us.
Ume Jam (Using Broken Ume)
For all the leftover ume with broken skins, it was a “waste not, want not” scenario with ume jam. It’s a nice way to use everything up, though this batch required a good amount of sugar to make it truly palatable!
Countryside Life & Wildlife Encounters
While our ume projects were busy getting processed, our freshly planted garden underwent a notable growth spurt. Our watermelons and kabocha pushed beyond their protective netting, while cucumbers, eggplants, and okra were just days away from bursting forth. It truly felt like the garden was doubling before our eyes in the humidity, growing almost faster than we could keep up!
And it’s not just the plants thriving. Summer also brings out some familiar faces in our little corner of the countryside, including a few new visitors: swallows. To encourage our new swallow guests to settle outside the house, Jesse built them a stand for the house eaves. We even added an old swallow nest that had been sitting defunct in our genkan for years, hoping they might choose to make it their new home.
The swallows weren’t the only ones making their presence known. The monkeys, noticing the new vegetables in the neighborhood garden, have already helped themselves to some fresh produce. They always seem to strike when it’s drizzling, but Pancake was on duty, and we ran them off right away! The vibrant wildlife continues to stir well into the evening, capturing some rarely-seen, fascinating stages of transformation unfolding right before our eyes, including snakes, geckos, and even a huntsman spider shedding its exoskeleton.
The Final Steps & Taste Tests
After a few patient weeks, our shiso was finally ready for harvest. Adding this fragrant purple herb is another important step in the umeboshi process, giving those pickled plums their characteristic, vibrant color and flavor. To prepare the shiso, we thoroughly rinsed it with water and salt, squeezing and releasing its natural juices until the liquid turned a deep, dark purple. Then, after ensuring the umeboshi were fully submerged in their brine, we layered the prepared shiso on top, letting it rest for a few more days to infuse.
The very last step for umeboshi is to sun-dry them for a couple of days. Patience truly is a virtue in the world of ume preservation! While our syrups and umeshu still need a few more weeks to mature fully, our umeboshi was our very first taste of this season’s efforts. Our neighbor even came by, bringing a gift of umeboshi she made herself using ume from our very own harvest. Hers weren’t sun-dried, which is a perfectly common variation. These were super sour and salty – perfect for adding to a bowl of rice to replenish the much-needed salts lost during the scorching summer heat.
Conclusion
This video was a true labor of love, capturing the essence of summer in rural Japan through the lens of ume preservation and the vibrant life around us. If you’re curious to see all these processes in action, from the ume harvest to the final taste test (and some bloopers!), be sure to watch the full video.
What interesting Japanese dishes should I try with umeboshi? What new foods are you dying to try this summer? Let us know in the comments below!