One of the many exciting aspects of living in a traditional Japanese house was experiencing the process of renovating it. For the four years we lived in a modern Japanese apartment in Kyushu, modifications were strictly forbidden. The transition into an old akiya like ours was a new, exciting opportunity to peel back the layers and see exactly what it would take to turn a derelict house into a home in the Japanese countryside.
With the approval of our house’s owners, we started updating our akiya immediately. The house itself is small, about 650 square feet (60 square meters), with a solid roof, allowing us to focus our limited budget and time on five essential fixes that moved the house from being a charming relic to a comfortable, functional home.
Here is a look at the most impactful changes we made during our first year to make our little akiya truly livable:
- 1. The Structural Priority: Replacing the Engawa Beam
- 2. Hygiene & Dignity: Installing a Flushing Toilet
- 3. Aesthetic & Light: Restoring the Shoji Screens
- 4. Climate Defense: Walls, Vapor Barrier, and the Great Humidity Fight
- 5. Essential Convenience: Integrating the Bathroom Vanity
- Conclusion and Final Takeaway
1. The Structural Priority: Replacing the Engawa Beam
The Why: The most urgent repair was the northeast corner of the house. Our house was literally rotting on its base. We have an engawa (縁側), the beautiful covered corridor along the perimeter of traditional Japanese homes, which is my personal favourite spot for a morning coffee.
However, the wooden support beams had been exposed to time, wind, and rain, eroding them past the point of safe return. We needed a stronger, stable base, not only for peace of mind but to prevent the entire corner from shifting.
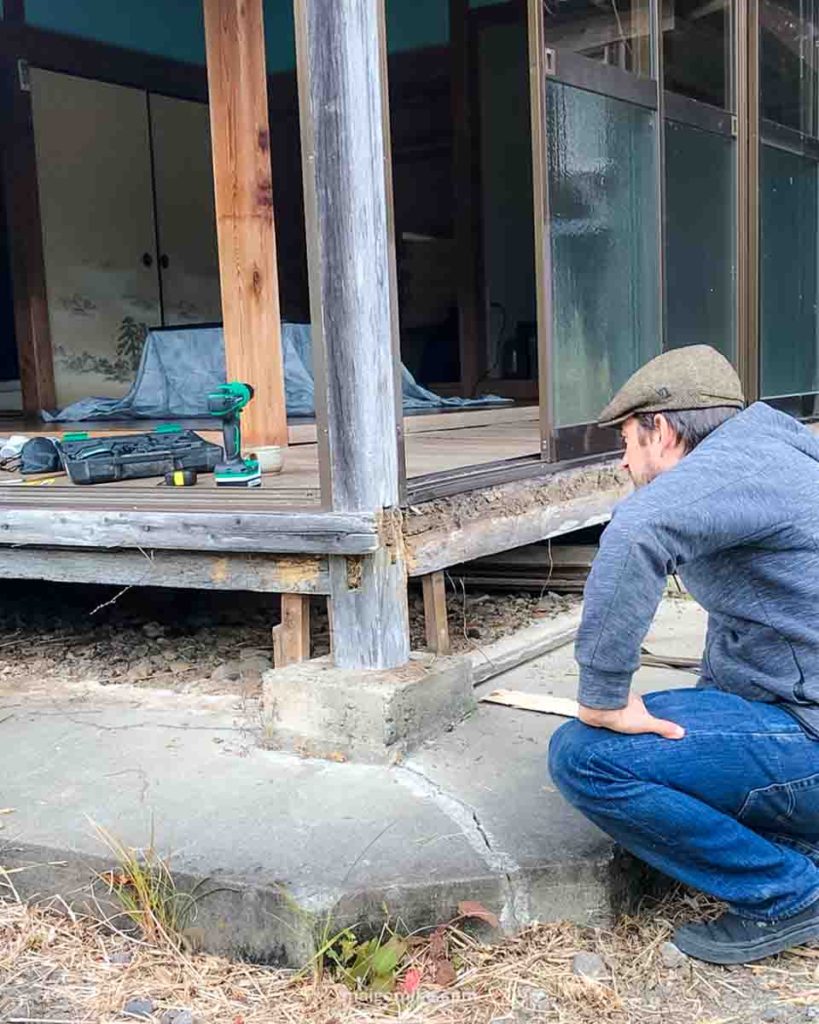
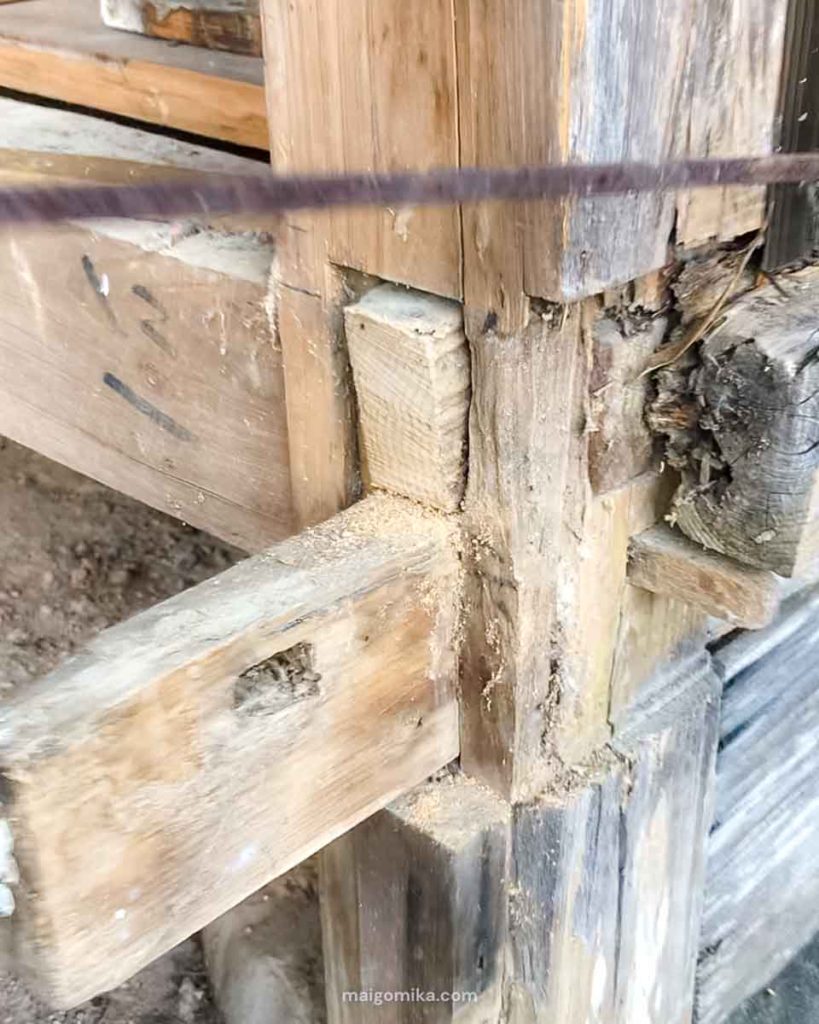
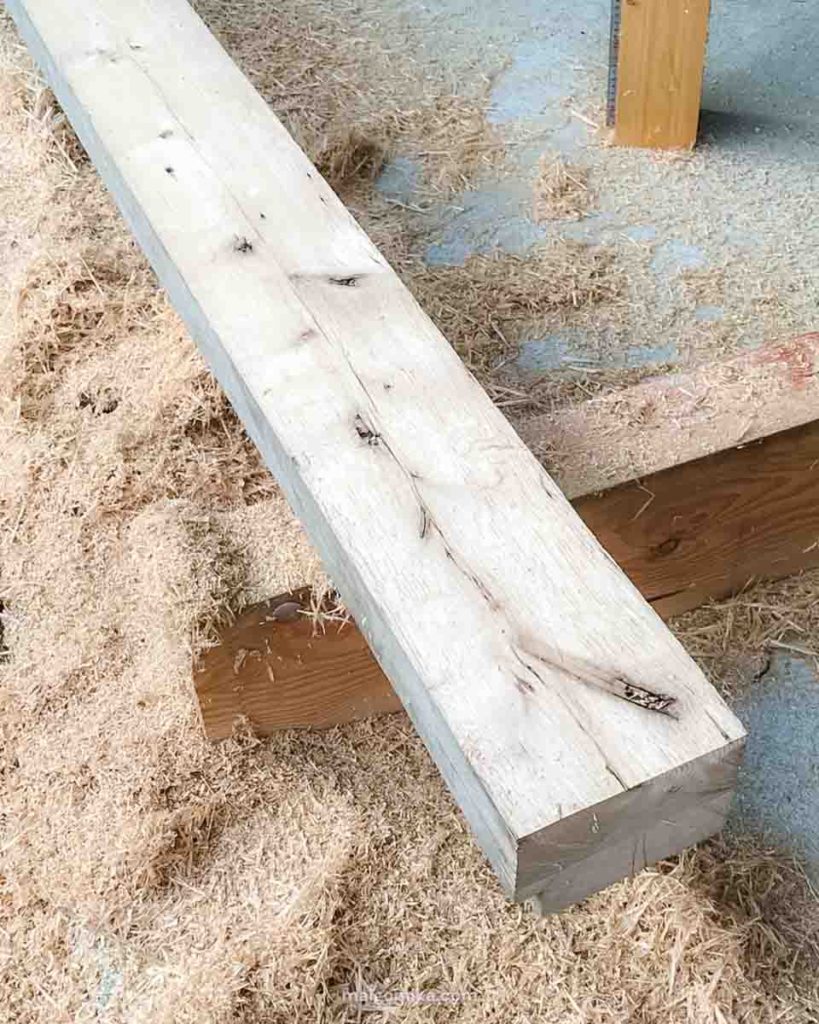
The How: Our urgency was so clear that the neighbors lovingly referred to our house as the “Blue House” due to the blue tarp we had to hang up while working! To fix it, we decided to reuse as much of the original chestnut wood as possible, as scraping it felt like a shame.
First, Jesse removed the compromised beam and carefully cross-braced the opening to ensure the house wouldn’t shift during the repair. He then cut the beam back to clean, sound wood and attempted a complicated network of joinery to splice in a new section of wood.
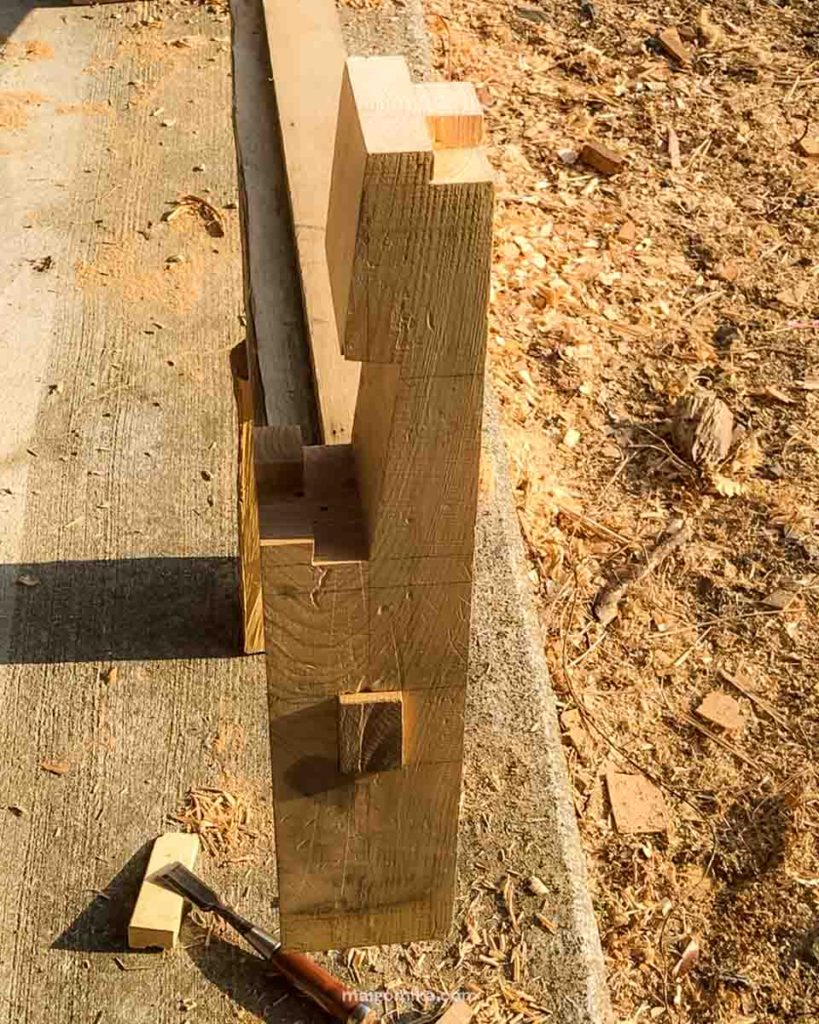
Once the corner post was re-assembled and the temporary bracing removed, we could re-install the sliding glass doors, giving us an attractive, strong base to admire the great views of the rice fields.
The whole process took about a month while balancing work and time, but the effort was well worth it.
Related articles you might also want to read:
- The Shocking Reality Of Our First Year In An Akiya House (and How We Adapted It)
- What You Need to Know About Akiya Abandoned Homes in Japan
2. Hygiene & Dignity: Installing a Flushing Toilet
The Why: Beyond the structural concerns of the corner, the toilet was the most pressing change that needed to be confronted for daily comfort and hygiene. One of the less glamorous aspects of living this far out is the lack of communal sewage infrastructure—meaning we had a traditional outhouse. While functional, we knew we had to update it to feel closer to the comfortable, modern bathroom experience we were accustomed to.
Interested in inaka country living? Then you should read this article:
👉 Is Inaka Life For You? Here Are 7 Truths To Consider Before Making The Big Leap
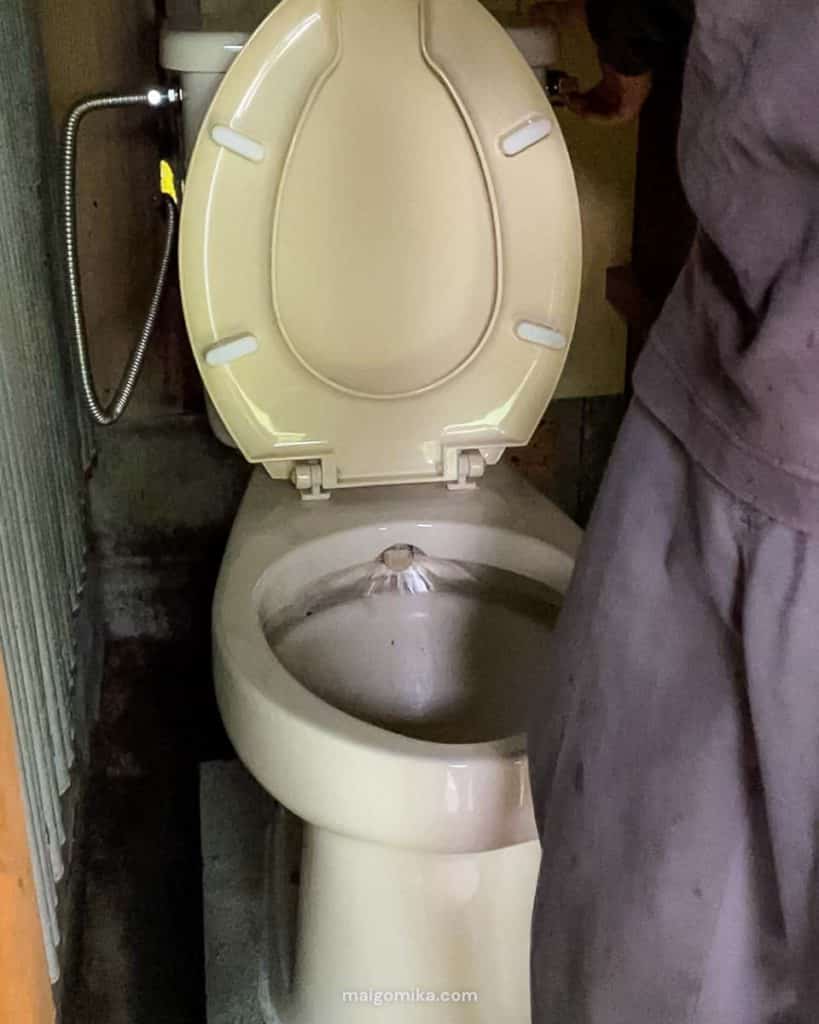
The How: We approached this as an engineering problem. We a proper porcelain throne ontop of the literal hole in the ground, complete with a partial flush system. To manage odors, we installed an extraction fan at the top of a vent pipe, continuously drawing air down through the toilet and up out of the roofline.
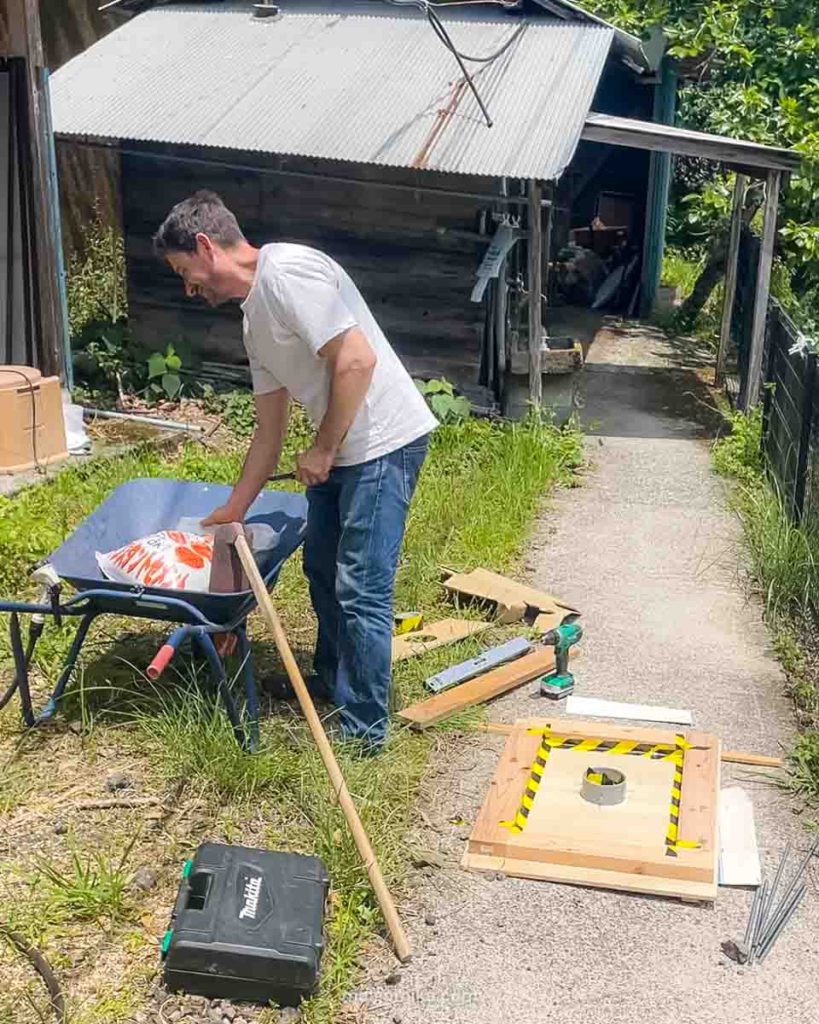
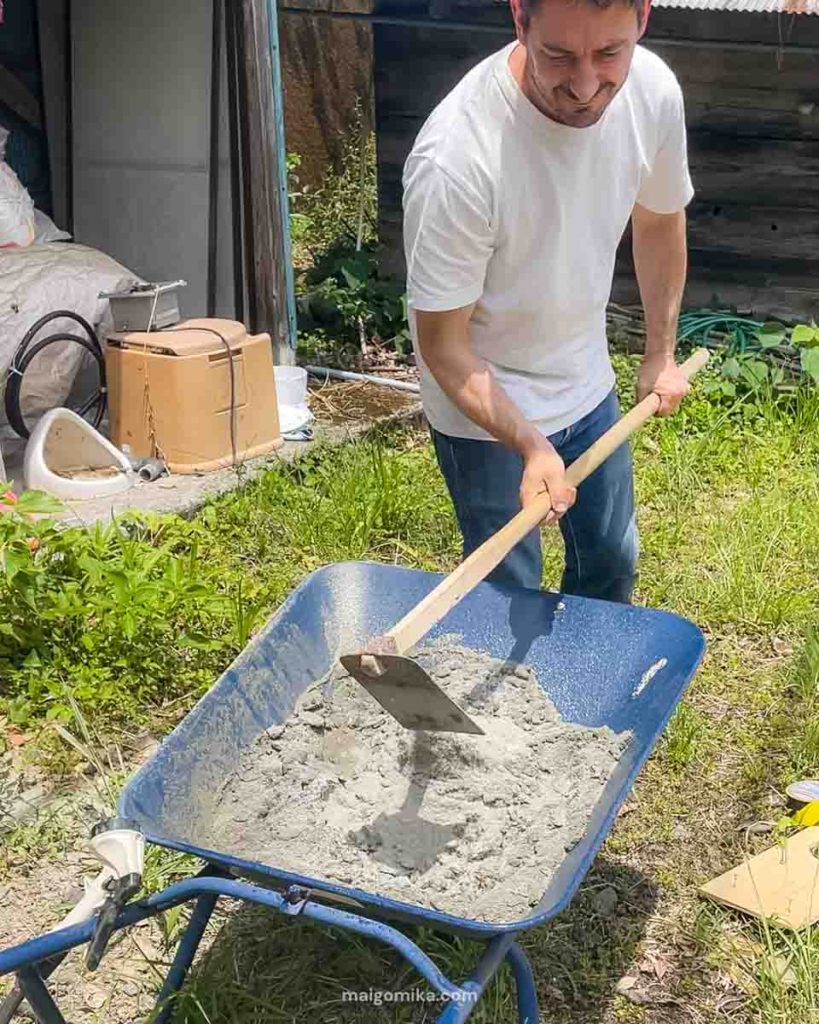
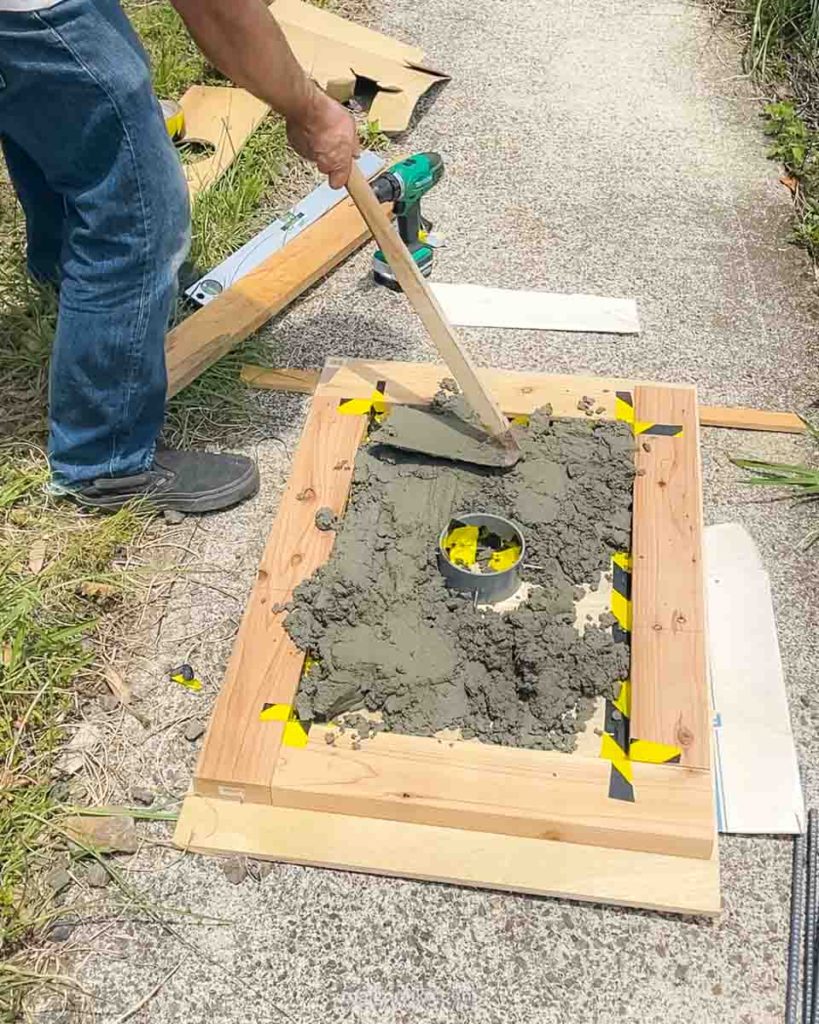
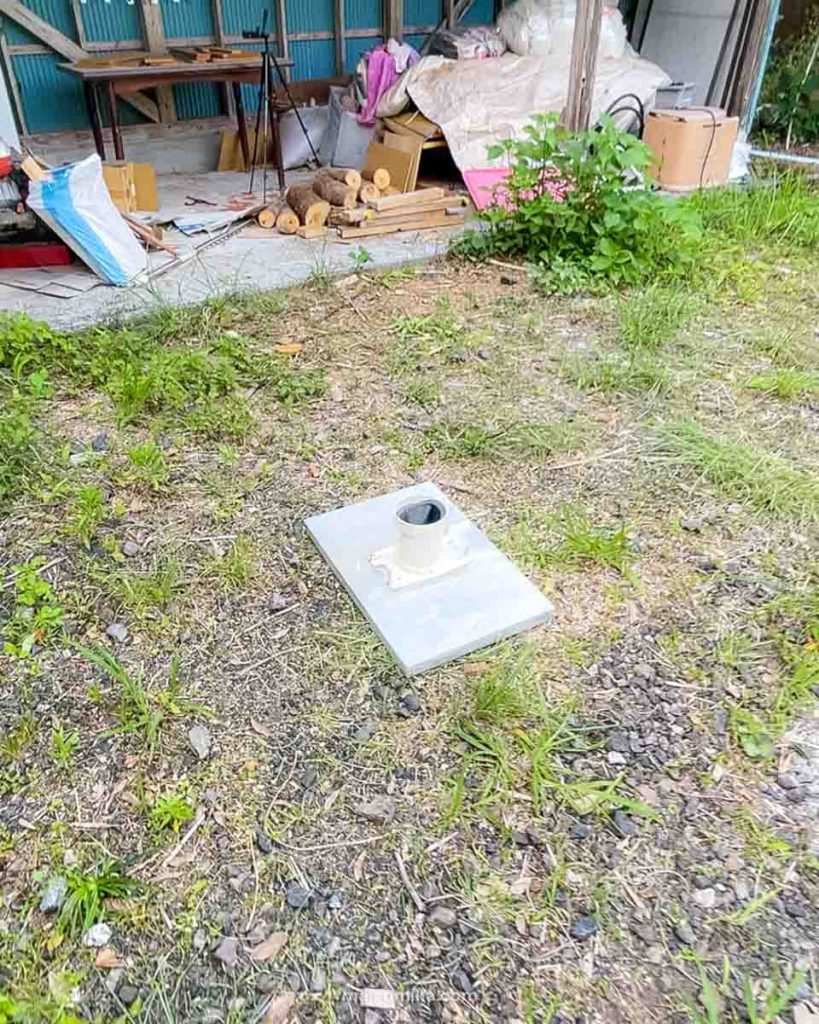
Finally, to ensure stability, we created a custom cement platform fitted precisely to the new toilet’s base. These changes were massive—even if the space was still tiny—and immediately improved the daily livability of the house tenfold.


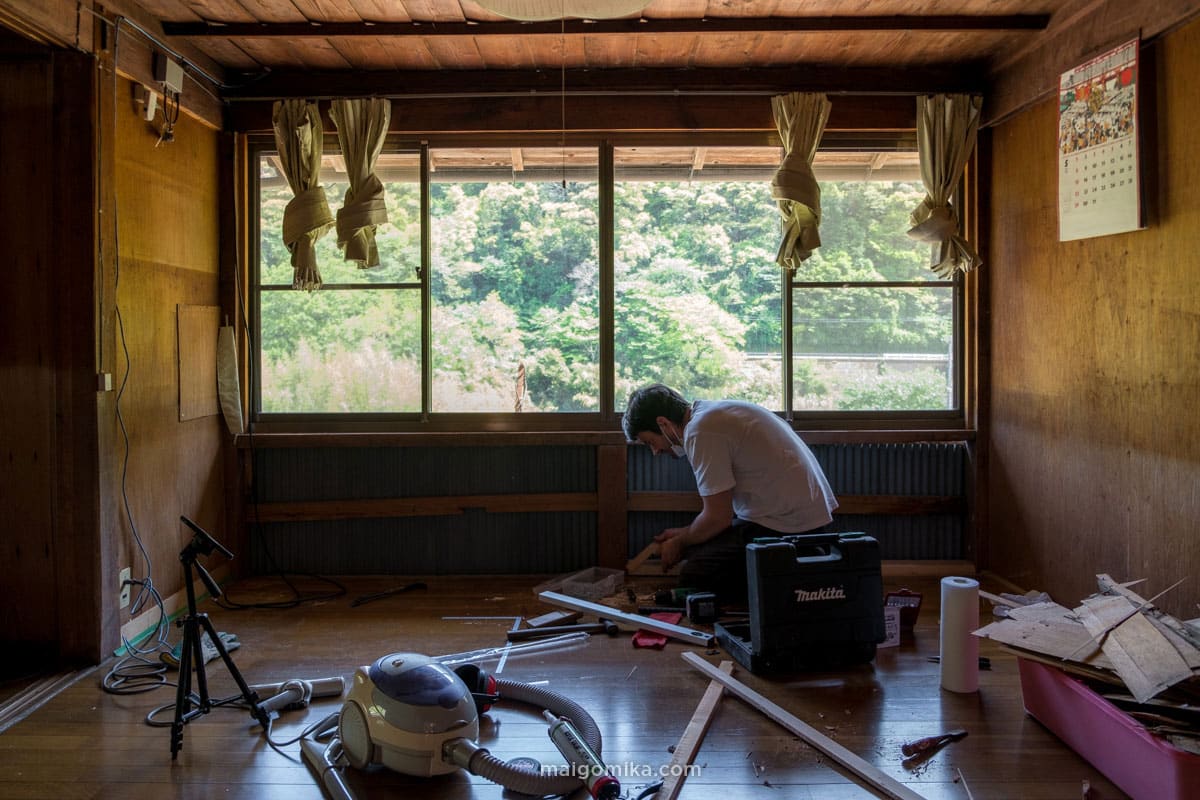
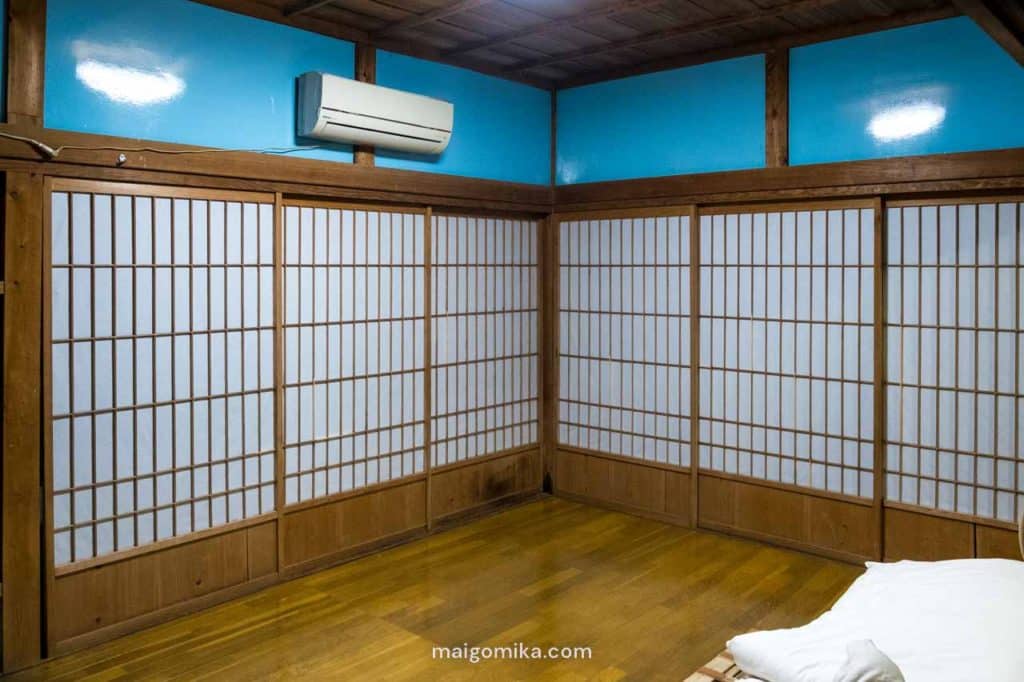
3. Aesthetic & Light: Restoring the Shoji Screens
The Why: This project was less about structural integrity and all about aesthetics and psychological comfort. The shoji screens are iconic to traditional Japanese homes, filling the interior with a soft, diffused light. Restoring the house’s original 15 screens was a critical step in making the dark, damp interior feel bright, inviting, and cared for.

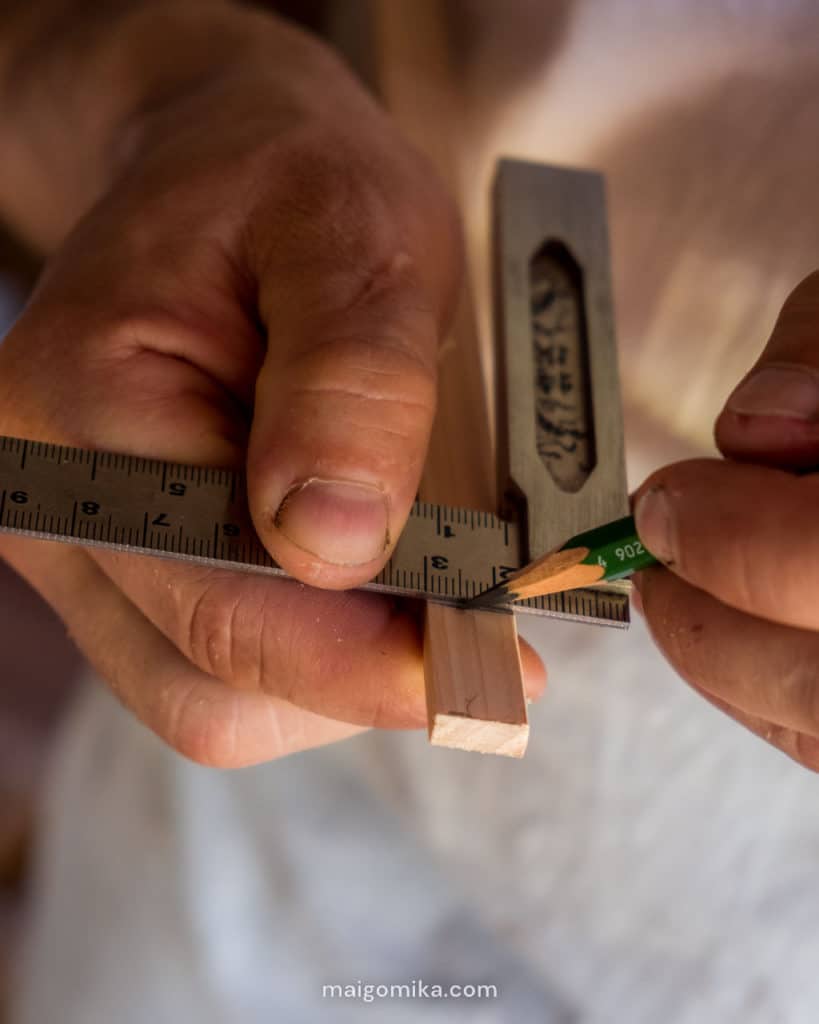
The How: While Jesse worked on the heavy-duty structural fixes like the engawa beam, I dedicated several weekends to the meticulous work of the shoji. The challenge lay in the sheer number and age of the screens; the older ones had delicate wood slats that required patience and care.
We had to splice in new wood where the frame was damaged, re-glue separated joints, and then painstakingly replace all the paper.
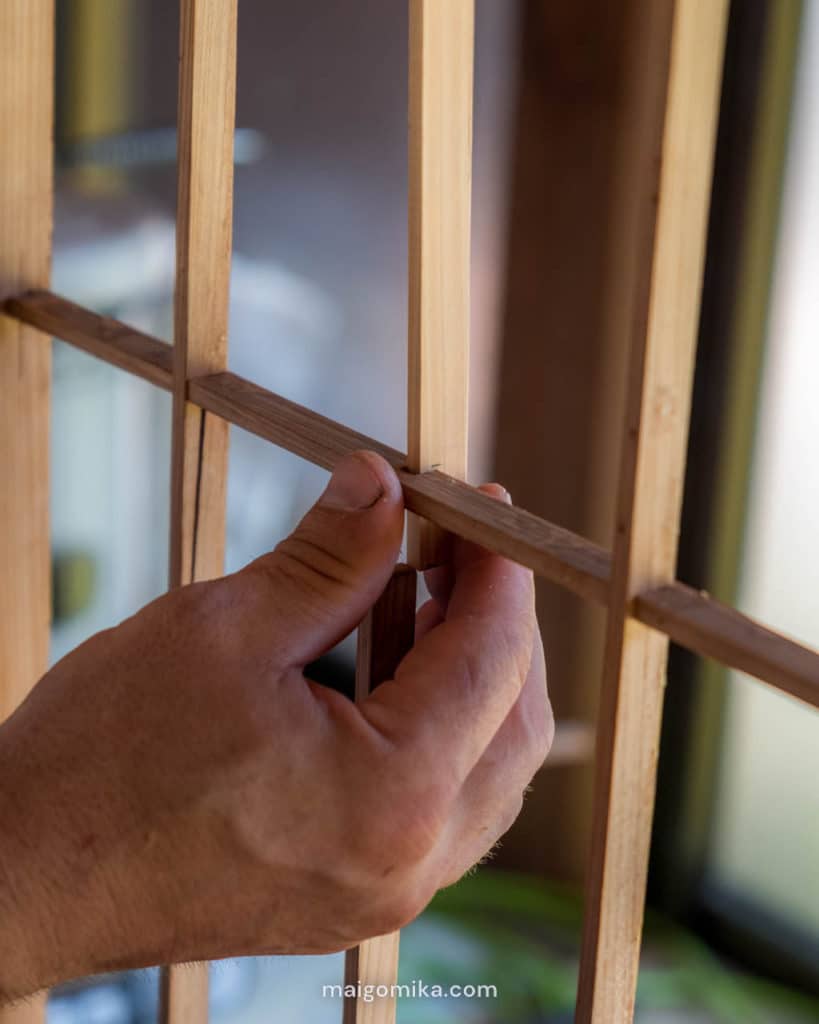
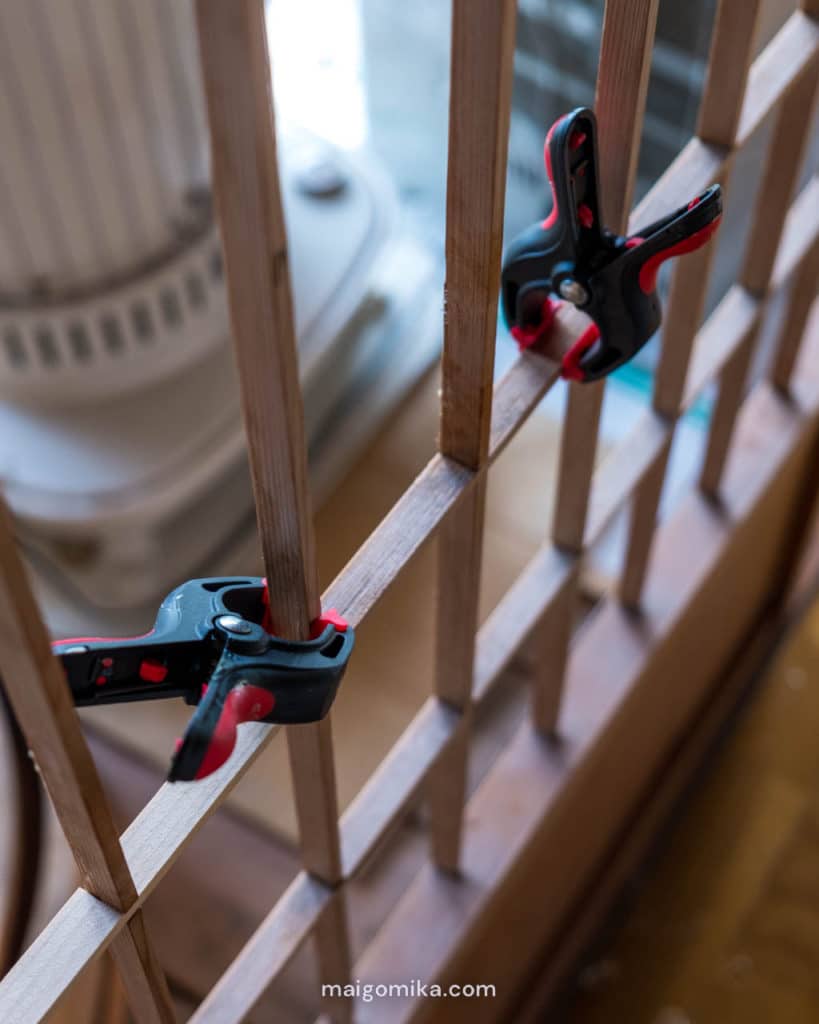
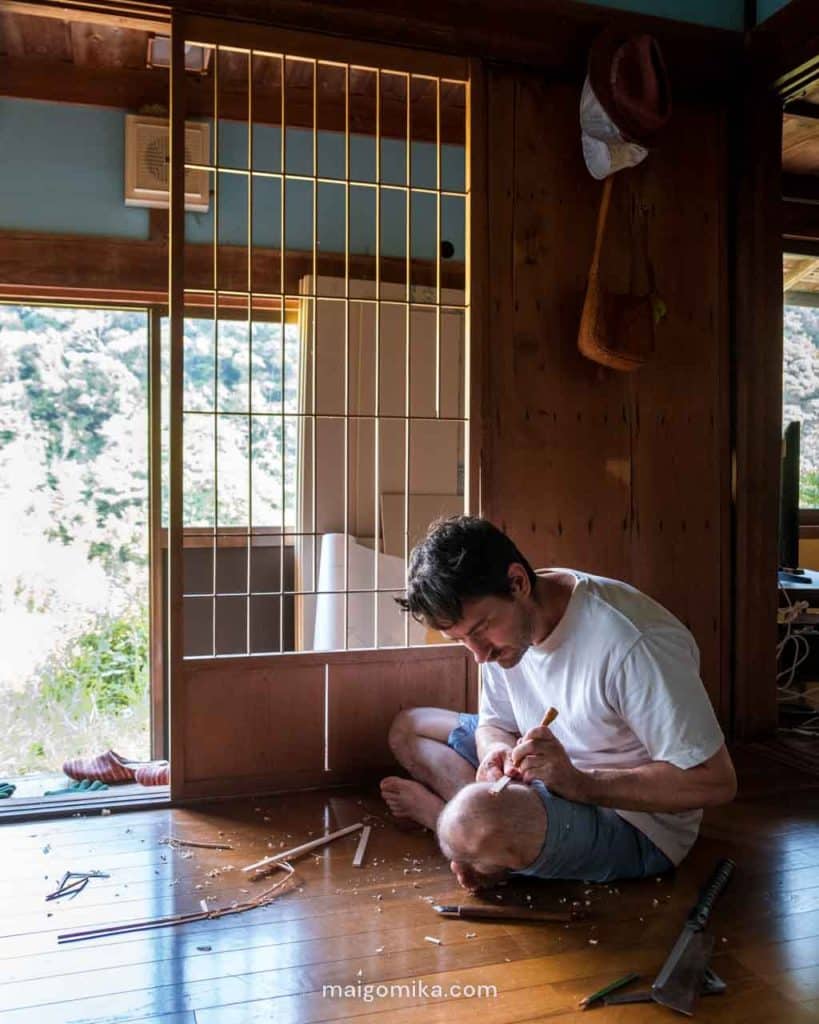

It was tedious work, but once completed, the newly papered screens made the single most significant change to the aesthetics of the house, instantly making the interior feel clean and traditional.
4. Climate Defense: Walls, Vapor Barrier, and the Great Humidity Fight
The Why: Our next major project was replacing the interior walls. Aside from the disintegrating plywood sheeting, there were large gaps between the floor and walls that invited all sorts of critters onto our beds. The core issue was combatting Japan’s extreme humidity, which attacks these old wooden structures relentlessly.

The How: The house structure is timber-framed and sheeted with metal siding on the outside, but it completely lacked insulation or any kind of modern weather envelope. We began slowly changing the old sheeting material and dissolving plywood into fresh drywall with a proper vapor barrier. We focused on the vapor seal to manage moisture, as the vast majority of our exterior is sliding doors and windows rather than solid walls. This ongoing process of creating a sealed envelope has made the house less damp in the summer and less drafty in the winter, keeping the moisture (and the critters) at bay.
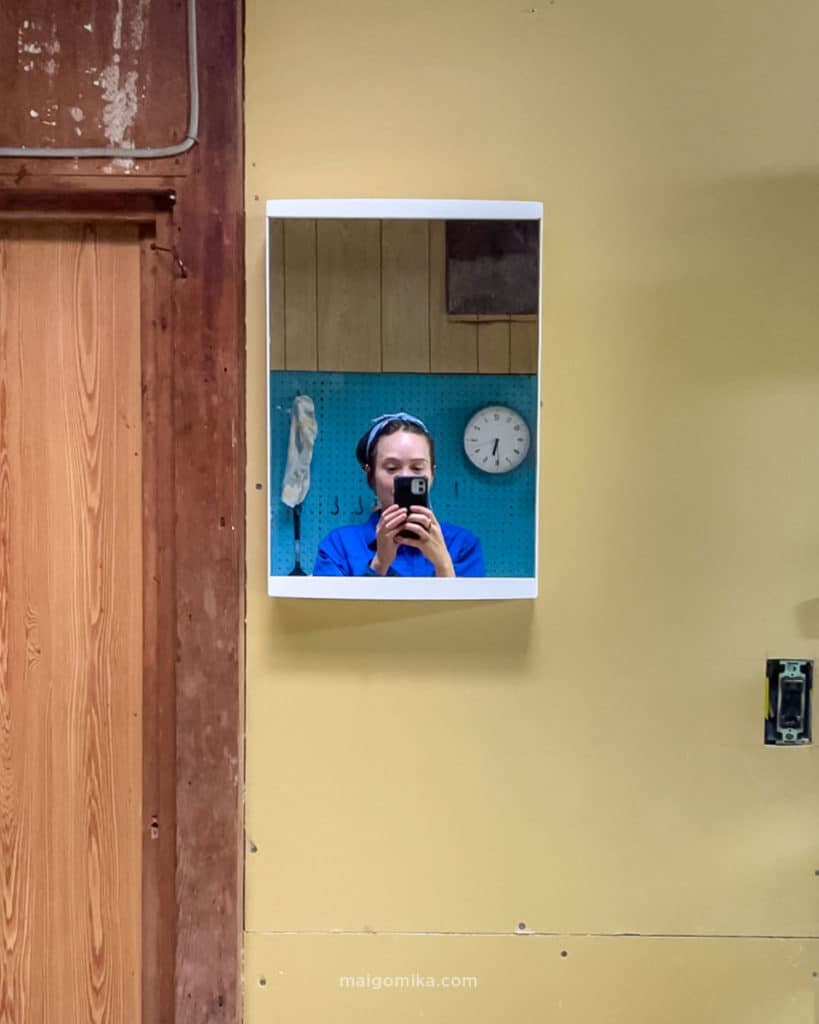
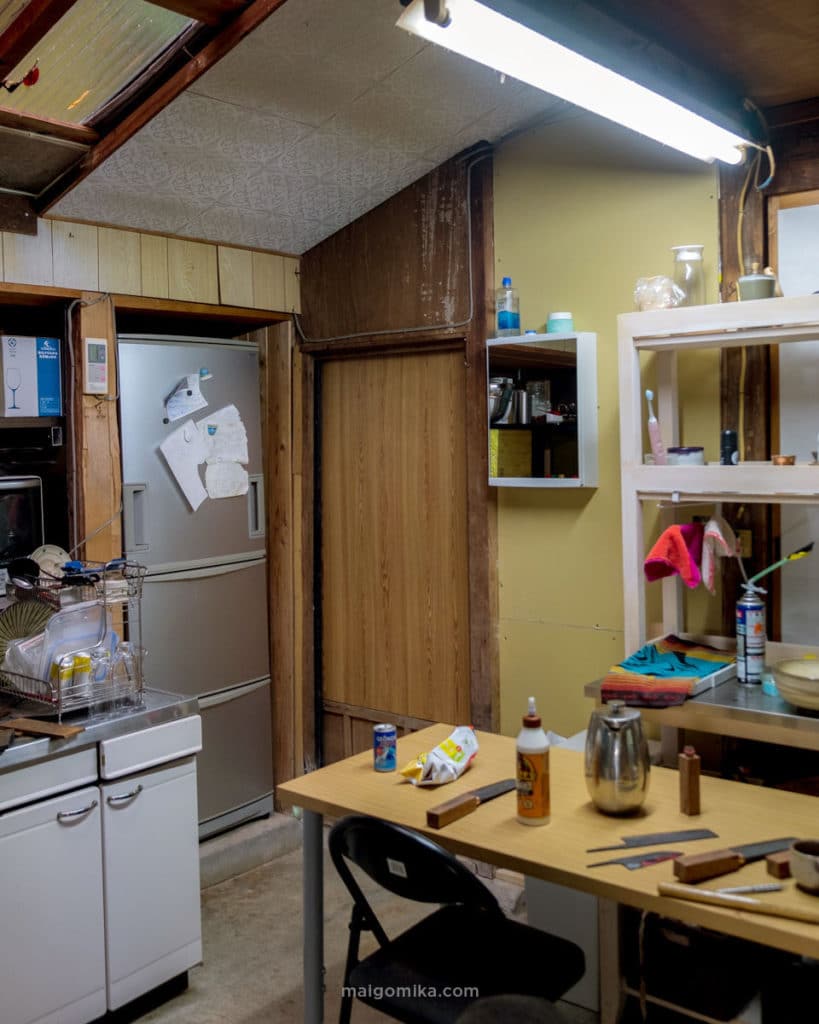
5. Essential Convenience: Integrating the Bathroom Vanity
The Why: While our outhouse toilet was vastly improved, the exterior location of the washroom made it highly impractical for small daily necessities, like brushing our teeth in the darkness of night. We needed to integrate a modern convenience into our main living space.

The How: We used the opportunity presented by the wall renovation (fix #4) to install a bathroom vanity directly in our functional kitchen space. Believe it or not, this was the first mirror we installed in the house after four months without one!
This small addition of a dedicated sink, mirror, and storage area has been a huge boost to our daily routine, saving us countless trips outside and making that morning ritual feel instantly comfortable and refreshing.
Conclusion and Final Takeaway
I know what you might be thinking: why put so much blood, sweat, and sawdust into a house we don’t even own? (Yes, we rent this place!)
But for us, the value isn’t in the paperwork; it’s in the process and the freedom.
We are truly happy trading our weekend leisure for power tools and a bit of messy work because every single fix—every shoji door, every insulated wall—is an investment of our energy, making the space feel uniquely ours.
We’ll happily keep chipping away at the smaller projects for as long as we’re here, learning valuable insights into Japanese house restoration and, most importantly, making our daily life cozier. If the house is a little less damp in summer and less chilly in winter, that’s a huge win for us!
What part of the renovation surprised you the most? Let me know in the comments below if you have any questions about the process or our next repair!


This is a great article about the renovation of a traditional Japanese house! I especially loved learning about the process of replacing the rotting beam on the engawa balcony and repairing the shoji screen doors. These details give a real sense of the character of the house and the work that went into preserving it.
I’m also curious about the decision to upgrade the toilet to a water-flush outhouse. Can you tell me more about the reasoning behind this choice? Was it important to you to maintain a somewhat traditional feel, or was there another reason for this decision?
Hi there, thank you for your comment! We chose to install a water-flush toilet because our house isn’t connected to the municipal sewer system; instead, we use a holding tank. Upgrading to a water-flush toilet has provided a more pleasant experience compared to our old plastic toilet, and it feels much less like an “outhouse,” even though the maintenance is similar to that of a traditional outhouse system.