My very first umeboshi (梅干し) batch in Japan was, admittedly, a bit of a disaster. When I opened the container after weeks of letting the fruit bask in its brine, a foul, septic smell reached my nose. Tiny worms and flies confirmed my fear: my batch had failed. I knew what went wrong right away—I hadn’t prepared the fruit properly, and I rushed through the cleaning process.
Despite this initial failure, my interest in pickling has always been fueled by a spirit of experimentation. Before I moved to Japan, I had a similar desire to make homemade umeboshi, but classic Japanese plums weren’t easy to find in suburban Vancouver.
Instead, my mom, ever the innovator, suggested we use what we had available: sweet table apricots. I still remember those creations vividly: plush, hacky-sack-sized fruits in bright yellows and oranges, plump with salty, syrupy juices. To this day, my mouth waters at the thought of those delicious “non-umeboshi umeboshi.”
My Umeboshi Journey in Japan

This year, after an unexpected bumper crop from our backyard tree, I found myself with more ume plums than I knew what to do with. While last year’s harvest was lost to monkeys (a rare occurrence since the plums are usually too tart for them), I was determined to make the most of this year’s harvest.
Read More: I Made Umeboshi, Umeshu & Other Ume Experiments
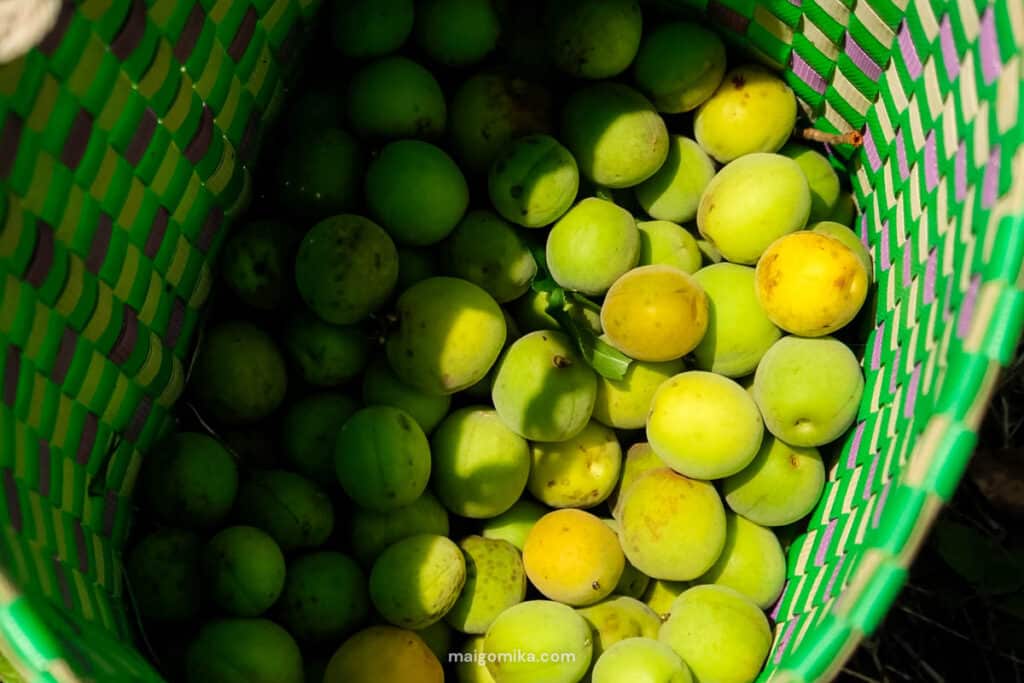
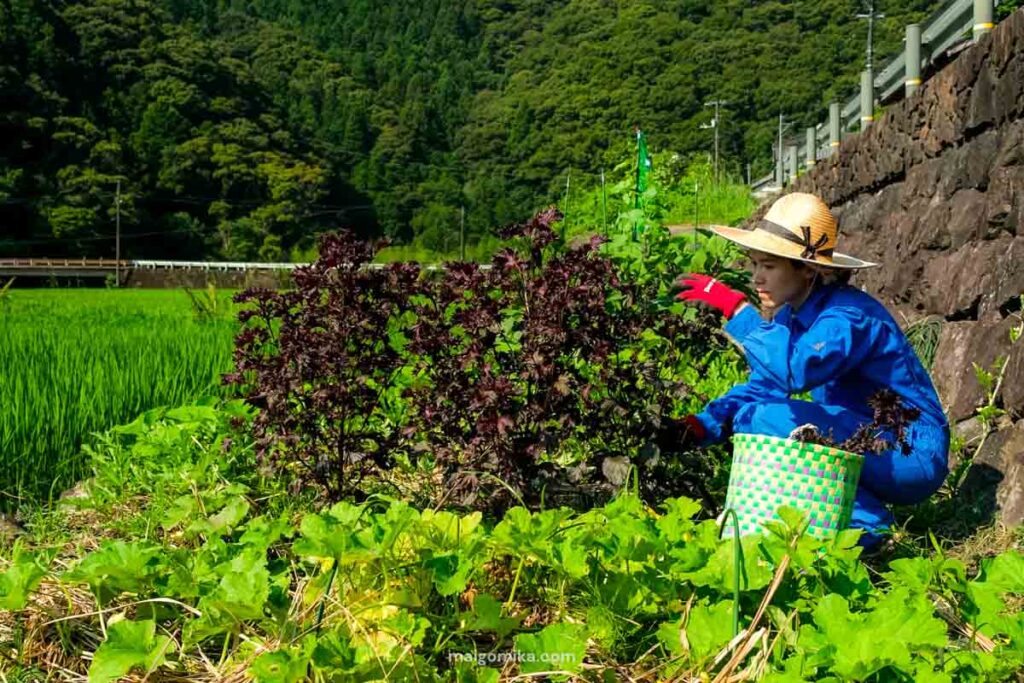
Sweating under the mid-summer sun, I spent several early mornings hand-picking every single fruit to start my umeboshi experiments.
When I started picking our ume, I quickly learned that ume plums are delicate and bruise easily. The first time, I used a branch cutter and shook the tree, causing the plums to fall ten feet to the ground and crush most of them.
My next attempt was a bit more daring: I climbed the tree with a basket strapped to my back, carefully handling each fruit so as not to damage its delicate skin.
When To Pick Ume Plums
Ume plums are harvested from late May to early July. The timing of the harvest depends on what you want to make:
- For Umeshu (Plum Wine): Pick the plums in early June, when they’re still firm and green. Their unripe tartness is what gives umeshu its distinct flavor.
- For Umeboshi (Pickled Plums): Let the fruit ripen on the tree and gather them once they start to naturally fall to the ground, usually from mid-June to early July. These ripe plums are softer and have a sweet, apricot-like aroma, which is perfect for pickling.
What I Used
After asking around my neighbours, I learned that there are a few methods for making umeboshi – some say no weight is needed, while others suggest using plastic bags and specific weights. For this batch, I opted for a simple ceramic pot with store-bought weights. Here are some tools I found useful:
Pickling Containers
I used a common brown crockpot, which can be found in any Japanese hardware or kitchen store, but any wide-mouth glass jar or plastic tub will work well. The key is to have a wide mouth so that it is easier to slide a weight in and out as you check your umeboshi. For any container, store it in a dark and cool location.
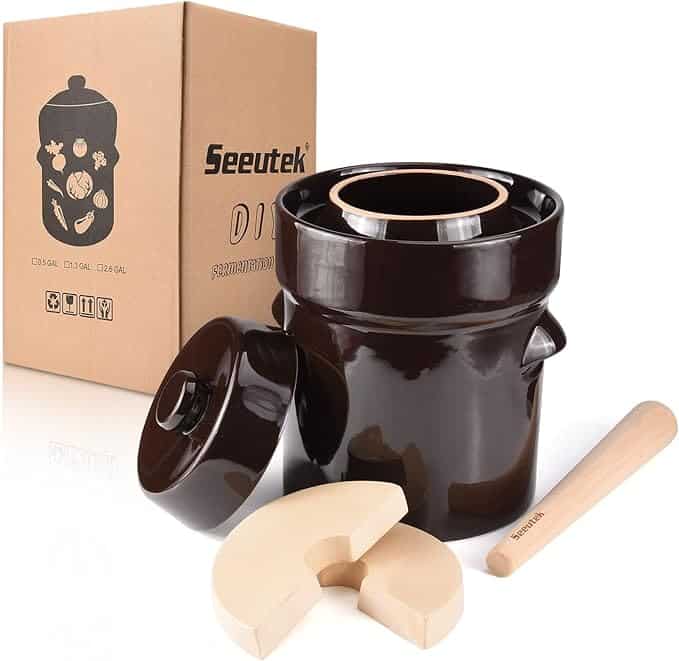
This Seeutek fermentation crock is a bit of a splurge, but it’s a game-changer because it comes with its own weights that are perfectly sized to fit the jar. It’s so handy not to have to worry about finding the right weights yourself.
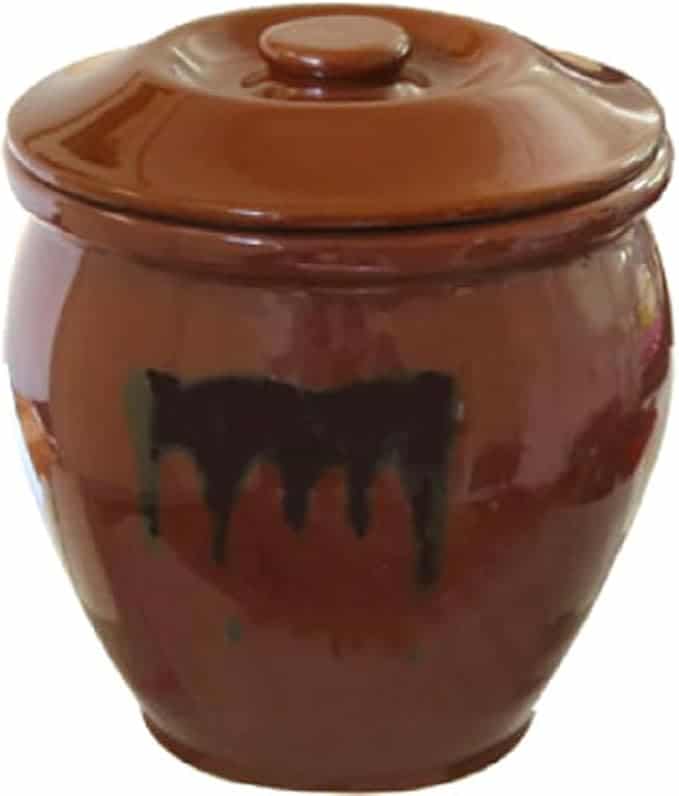
If you’re in Japan, you’ll see this kind of ceramic jar everywhere. It’s a classic for a reason—it’s a staple for all sorts of pickling projects, not just umeboshi.
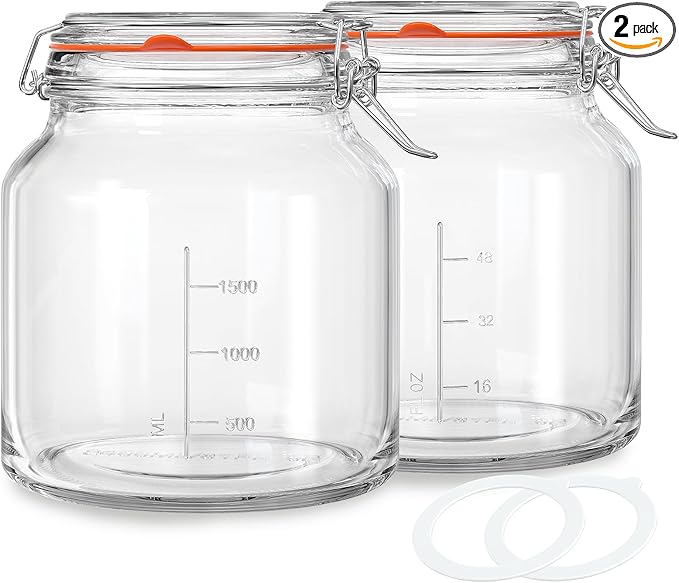
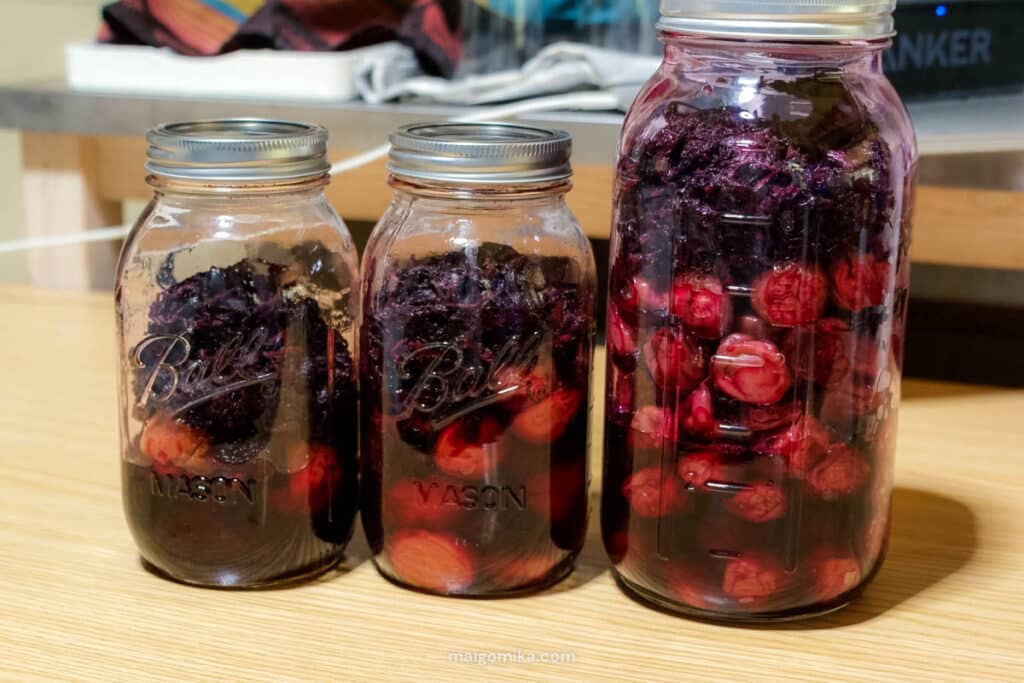
These 79-oz mason glass jars are a fantastic two-in-one option! The wide mouth makes it easy to add the plums and weights, and once you’re done, they double as perfect storage containers.
Pickling Weights
Weights are really helpful, especially for beginners. They help push the ume down so it’s fully submerged in the brine. I used a weight that came with a plate that evenly distributes the weight when placed on it. You can use specialized glass, ceramic, or plastic weights, or just a heavy jar or cup you already have at home.
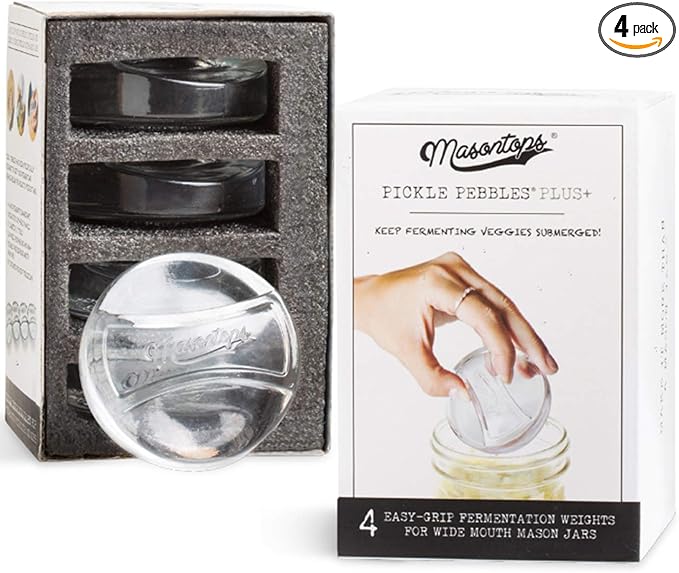
These Masontops Pickle Pebble Glass weights are specifically designed to fit inside mason jars, making them incredibly easy to use and clean.
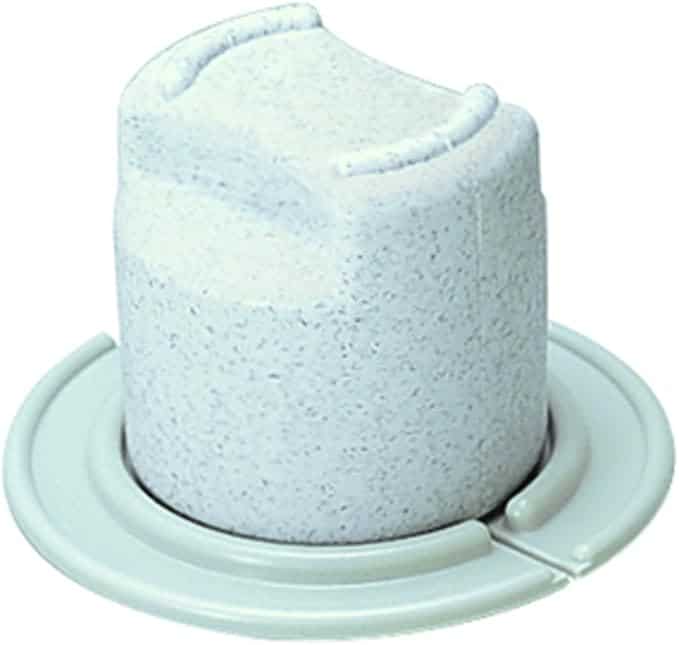
These pickle presses are a very common weight found in Japan. They often come filled with sand and sometimes include a separate flattening plate to help you distribute the weight more evenly over the plums.
Drying Tray
This can be a plate or a bamboo tray. Bamboo trays are great because they allow for better airflow, which helps the plums dry more evenly. If you use a plate, just remember to turn the plums regularly. You can also find trays that come with covers, which are perfect for keeping bugs off your precious plums!
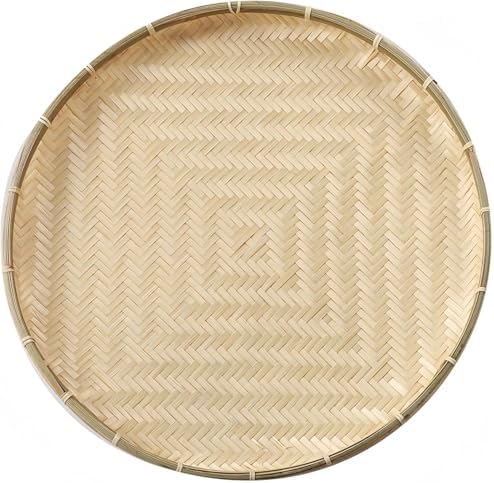
These bamboo trays are pretty standard in Japan, and they’re a great way to dry your umeboshi because they allow for good airflow. They may be hard to find outside of Japan.
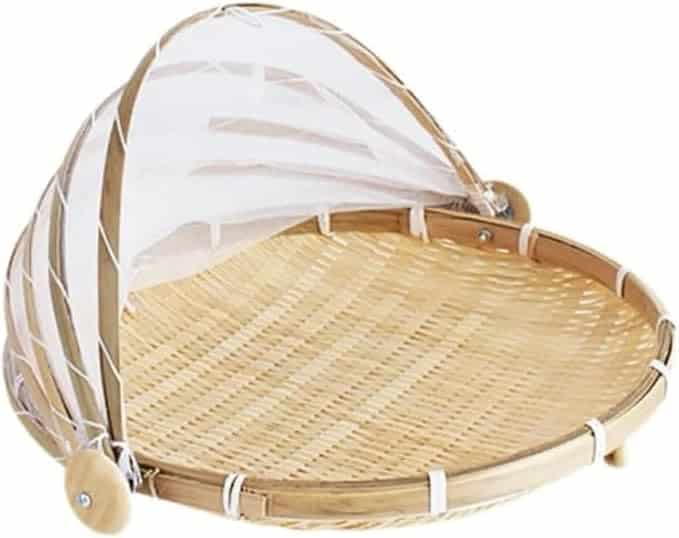
A less common bamboo tray in Japan, with a mesh cover to protect your umeboshi from bugs.
Storage Jars
To store your finished umeboshi, you can use any jar with a lid. However, I personally use mason jars because the two-part lid (a flat lid and a screw-on band) creates an airtight seal that is perfect for preserving the plums. This type of lid also allows you to reuse the band for future pickling projects.
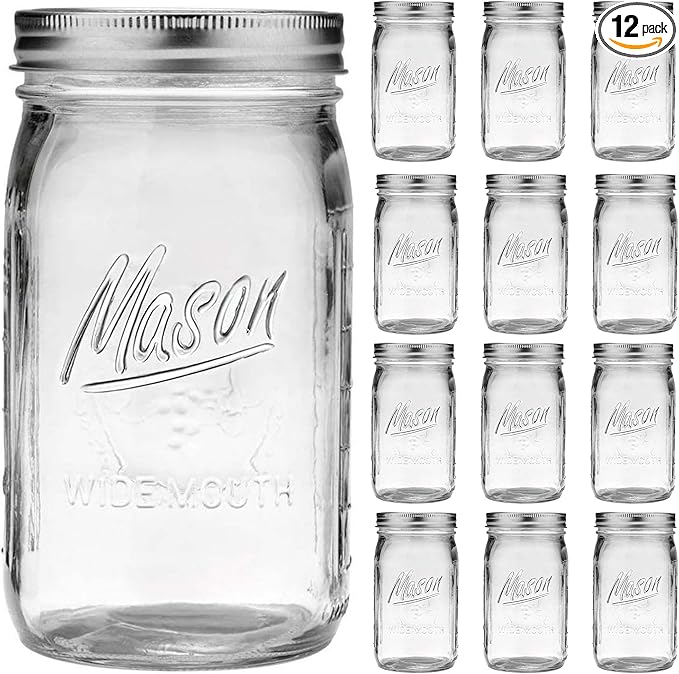
Wide-mouth mason jars with airtight lids — perfect for storing umeboshi, and canning for future pickling/canning projects.
Another Neighbour Tip! Pickling bags are optional, and while I didn’t use one this time, one of my neighbours swears by these plastic bags designed specifically for pickling. If you are using a plastic tub, lining it with a plastic bag will prevent the absorption of previous pickling flavors.
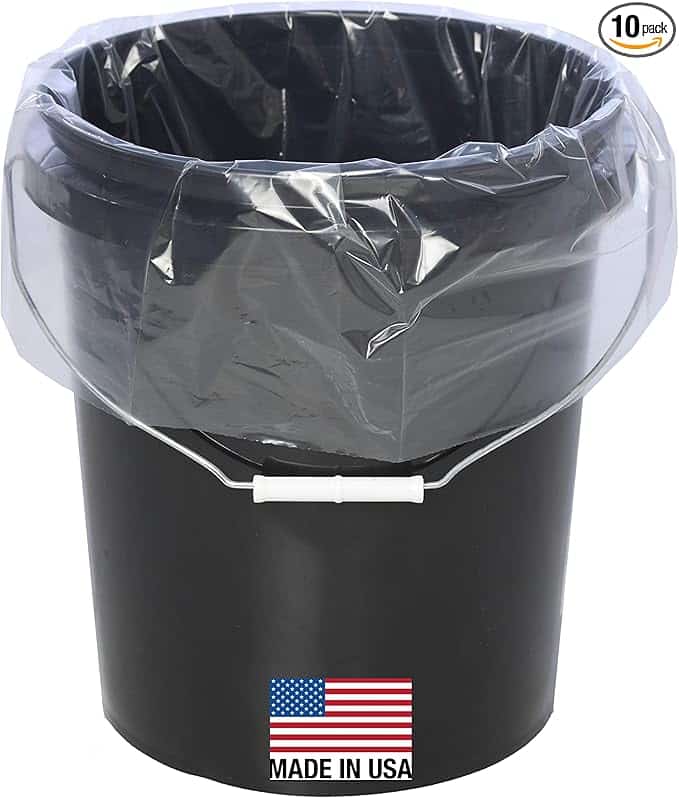
Pickling liner bags can be a great addition to your umeboshi process. They’re especially helpful if you’re using a plastic tub for pickling, or if you want some extra peace of mind to protect your plums from insects.
The Umeboshi Process: A Step-by-Step Guide
After harvesting, I cleaned the plums, removed their stems, pulled out my ceramic pot, layered the ume with salt, and waited.
Here are the general steps for making umeboshi:
- Clean and Prepare: Wash the ume, remove the stems (usually with a toothpick), and thoroughly dry them.
- Salt and Brine: Layer the plums with coarse salt in a clean container, then apply a weight to encourage the plums to release their brine (umezu) and remain submerged.
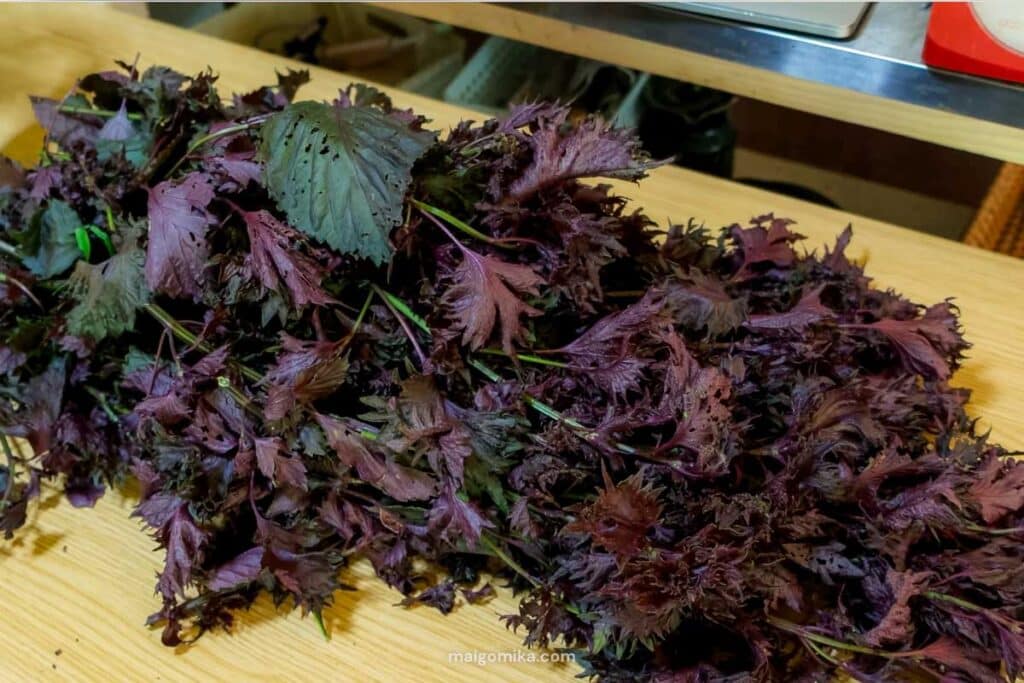
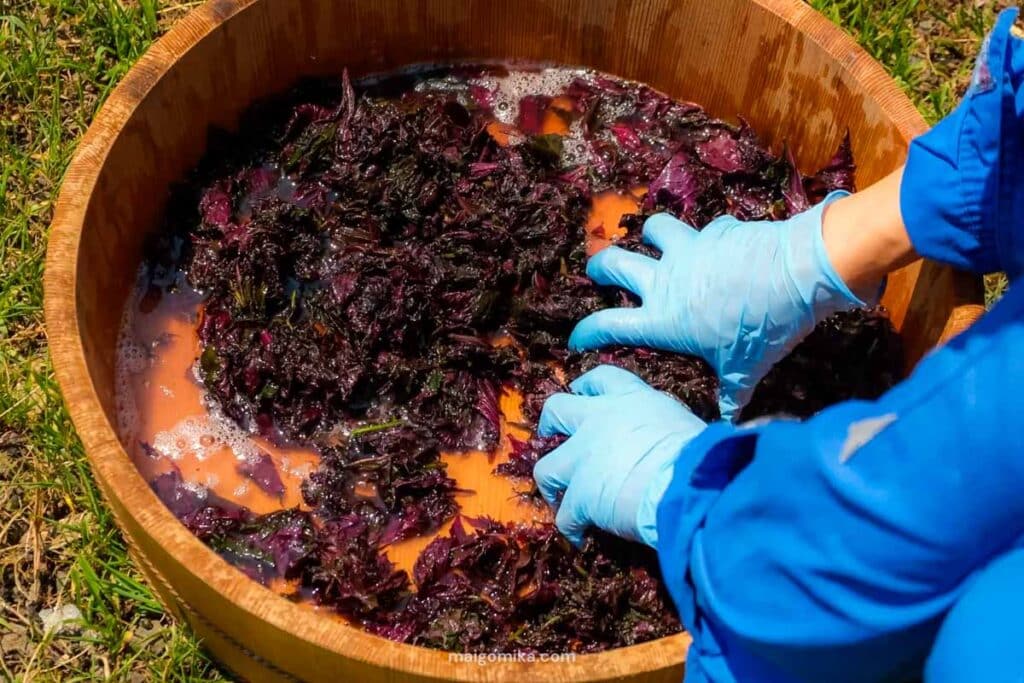
- Shiso Addition: After a few weeks, once enough brine has formed, add prepared red shiso leaves. The shiso is typically washed, salted, and squeezed to release its vibrant purple color before being added.
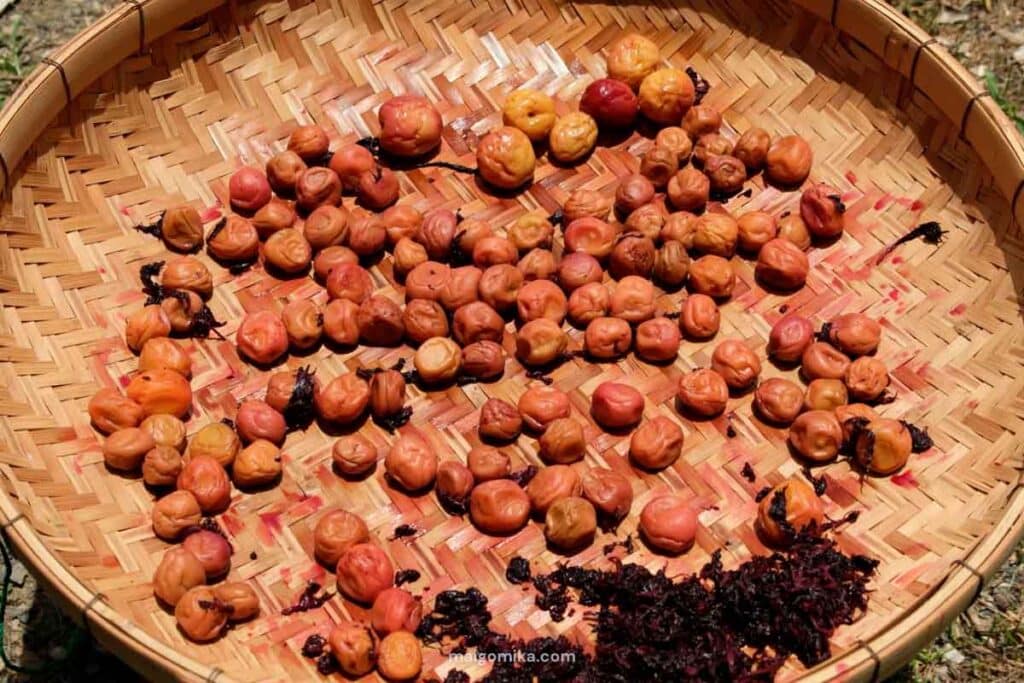
- Sun Drying: After the plums have brined with the shiso for a period (weeks to months), lay them out in the sun for several days to wrinkle and concentrate their flavor.
- Storage: Store the finished umeboshi and the leftover umezu in airtight containers.
For this recipe, I used a method shared by a neighbor: one kilogram of ume to 200 grams of salt.
After cleaning our container, we alternately layered the ume and salt, adding a weight to help the plums release their juice and stay submerged in their brine, which is crucial to prevent spoilage. This initial stage takes several days.
A tip from a local neighbor! While it’s generally advised to avoid plums with broken skins, she simply tosses them in with the others and keeps a close eye on them to prevent molding. She noted that this method is safer for those with a bit more experience who can check the plums regularly, as it’s a great way to avoid wasting them.
The Lessons Learned
After my first failed batch, my second attempt was a success because I applied what I learned:
- Diligence in Cleaning: I thoroughly rinsed the ume and cleaned the container with alcohol to remove any debris.
- Regular Checking: I made sure to open the lid and inspect the contents daily, ensuring the brine adequately covered the plums and removing any top layers that showed signs of mold. Regular checking can catch mold or bugs early.
- Secure Sealing: Since my ceramic pot’s lid wasn’t perfectly secure, I suspected it might have allowed unwanted bugs in. This time, I wrapped the container with a cloth and secured it with a large elastic band to create a temporary, extra seal. This is just an added measure to ensure no bugs get in, especially if the jar isn’t perfectly airtight.
The Big Reveal: Taste Testing the Harvest

After weeks of brining, with the shiso doing its magic, and those precious days of sun-drying, it was finally time for the taste test!
Our sun-dried umeboshi turned out the best. They had a perfect puckered texture and an intense flavor, with soft skins that were easy to bite through. The non-dried version, on the other hand, was a bit crisper and retained more of its original fleshy texture.
Finally, we tried the sumomo plum umeboshi. Jesse wasn’t a fan, but I loved them. They had a more tart flavor and a much denser, firmer texture compared to the classic umeboshi—definitely a salt bomb! I suppose it’s important to remember that everyone has their own tastes, and sometimes, nostalgia is the most delicious ingredient.
FAQ about Umeboshi
Can You Use Other Fruits?
If you’re outside of Japan, ume plums can be difficult to find. In this case, I suggest using other varieties of plums or apricots. The result will be different, but if you’re open to new flavors, it’s a super fun experiment. I personally really loved the ones I made with black plums and even apricots.
In the spirit of trying something new, I even made umeboshi with a Japanese plum variety called sumomo (スモモ).
They turned out to be quite different from classic umeboshi, being bigger and crispier, but in a uniquely delicious way! Jesse wasn’t a fan, but for me, they tasted nostalgically like my Canadian umeboshi attempts.
Can I substitute the weights?
Yes, you can! The key is to clean whatever you use to prevent mold thoroughly. For example, if you use clean rocks, make sure you boil them first to kill any bacteria.
Do I really need a pickling bag?
Nope, not necessarily! As long as you’re diligent about cleaning the plums and checking them regularly, you don’t need a pickling bag.
However, if you want an extra layer of protection from air and bugs, they’re a great option.
What do you think of my process? How did your own umeboshi attempts and experiments work out for you? Let me know in the comments!